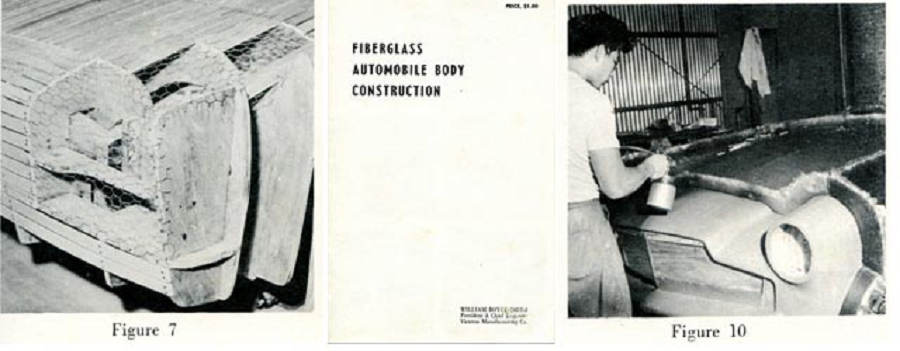
Hi Gang…
Here it was in ’55 and Victress Manufacturing was doing great. The new coupe models had been released (C2 and C3) and they were heading to the Petersen Motorama for their biggest appearance yet showing an example – each – of every model of cars / bodies they sold.
What fun times those must have been for the guys at Victress!
But in ’55 they had lost an opportunity. Doc Boyce-Smith and Ted Kelly sold their rights to print their book on fiberglass body construction to Clymer Publications at least one year before. And by now, Victress was using Thalco as their fiberglass supplier – Ted Kelly had closed the doors on his company – Allied Products Engineering Corporation (Not Burke’s Allied company).
So what’s a guy like Doc to do?
Doc was up to the task, and as President of Victress Manufacturing he wrote, designed and published two additional pieces of literature for potential and current Victress sports car builders. Let’s review this first book published in ’55 by Victress and Doc Boyce-Smith (we’ll review the second one in a future story here at Forgotten Fiberglass).
Fiberglass Automobile Body Construction:
Foreword
Here’s what Doc Boyce-Smith wrote at the introduction to his ’55 booklet on fiberglass. It opens up with a retrospective of the first 3 years of fiberglass body building across America.
In the past three years fiberglass has become a familiar word to a great majority of people in the United States. Never before has a new structural material risen to importance so rapidly. It’s effect upon the automobile industry has caused a revolution in designing and planning.
Fiberglass has made it possible to produce prototype models at a fraction of their former cost. We are all aware of the tremendous number of one-of-a-kind jobs coming from Detroit lately. Fiberglass has also put within the reach of the backyard enthusiast the means of producing a low cost special without previous experience.
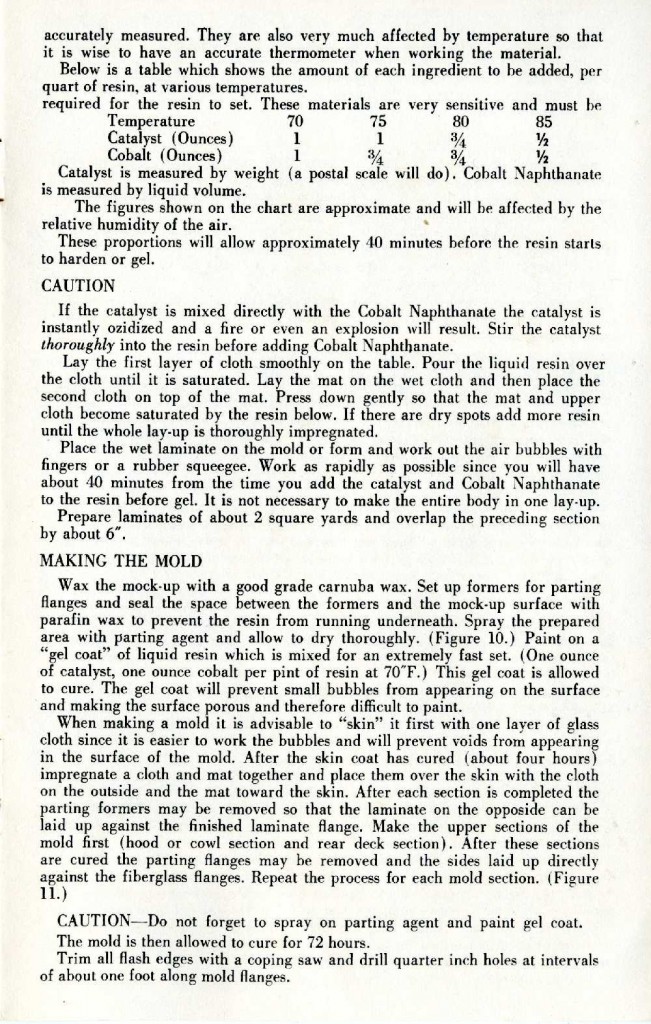
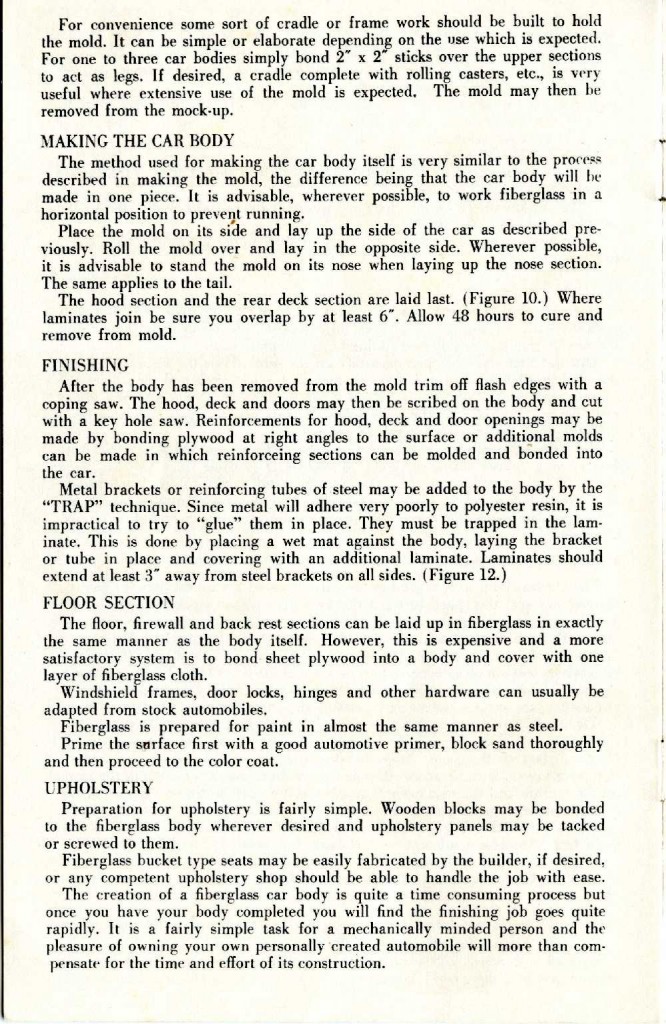
This book will endeavor to explain the fundamentals of fiberglass fabrication. It has been divided into two sections. The first deals with the problems of design and creation of your proposed car body, the second with the technique and application of fiberglass resin laminates
Copyright 1955
William Boyce-Smith
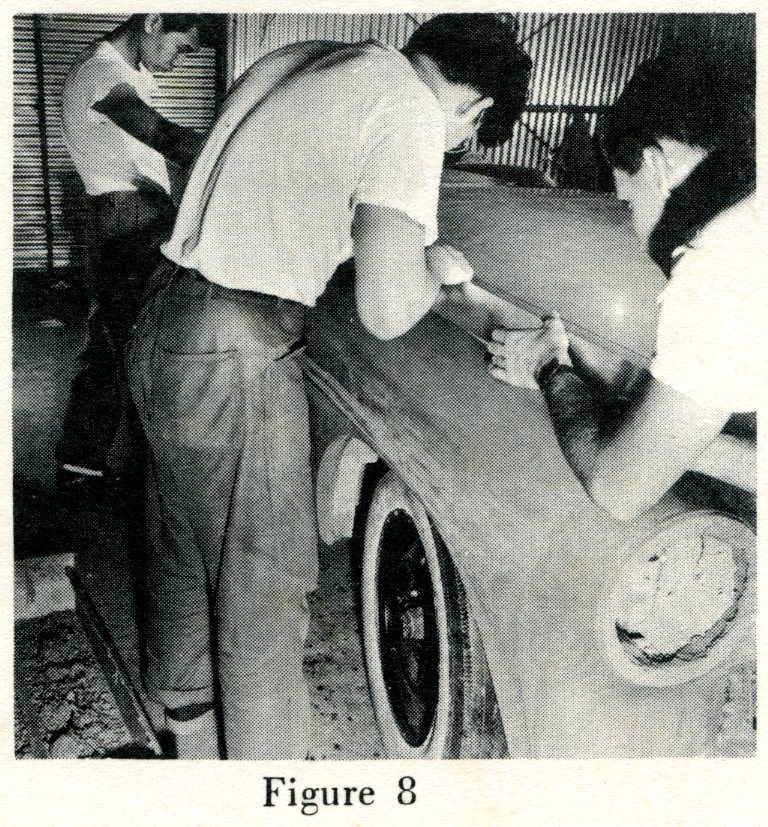
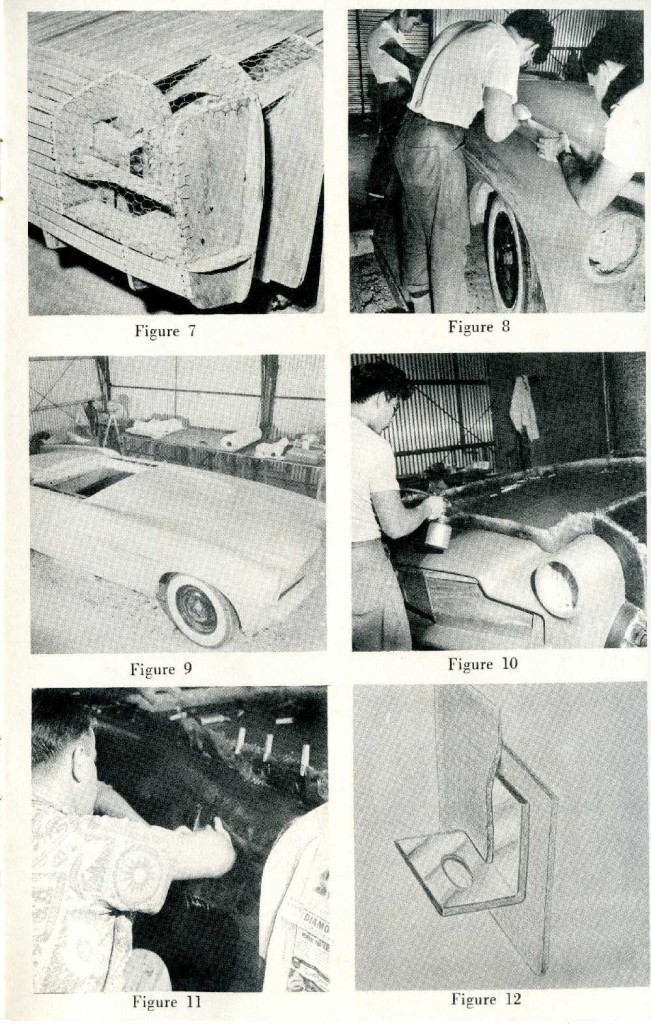
Morrie Chung (center) and Jim Dong (rear) Working on S4. Hugh Jorgensen is at Front of S4. At Bottom Left Corner of Picture Is Box of Clay Ready To Return The Oven To Be Reheated. All 3 Of Them Are Holding A Masonite Template Used As The Contour For The Ridge Of The Fender (Comments From Merrill Powell).
Sections Of The Booklet
The major sections of the booklet are further subdivided as follows:
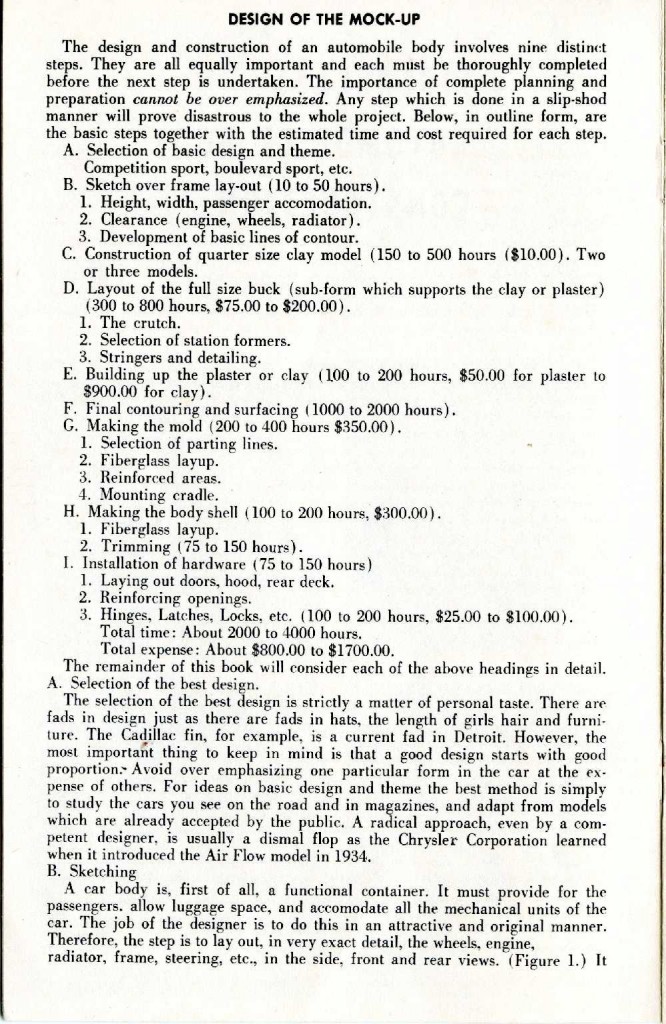
Section 1: Design of the Mock-Up:
- Selection of the Best Design
- Sketching
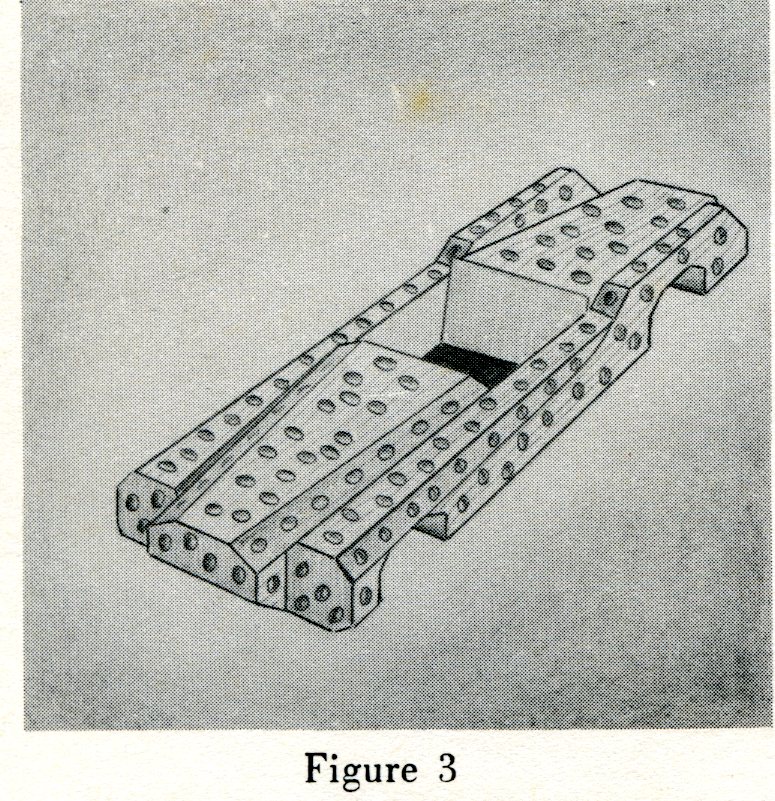
- Construction of a Quarter Size Clay Model
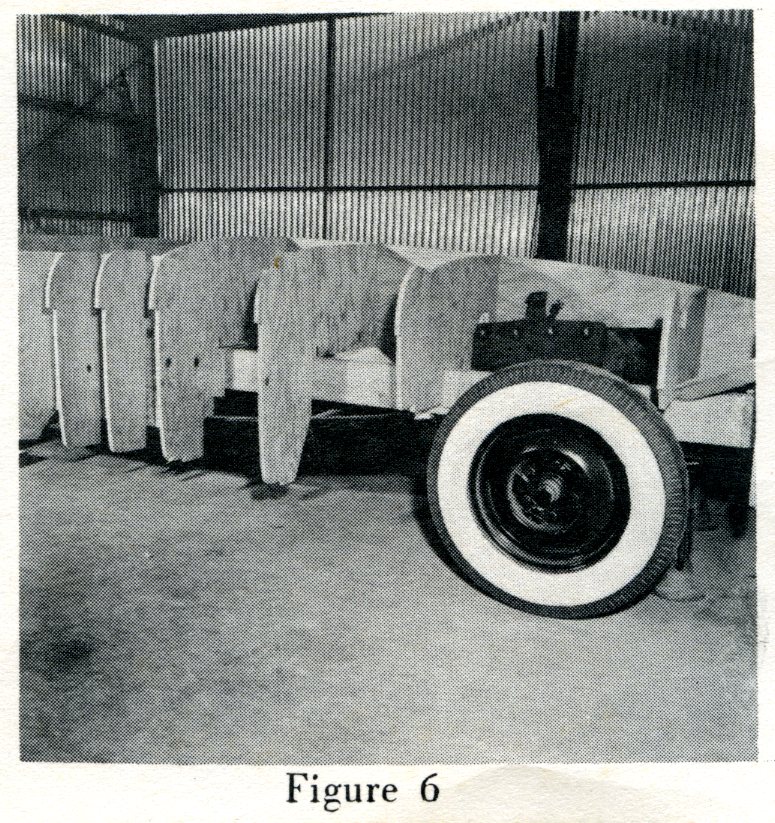
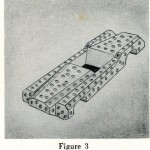
- Lay-Out of the Buck
Section 2: Fiberglass Materials and Working Technique:
- Cloth
- Mat
- Resin
- Catalyst
- Cobalt Naphthanate
- Parting Agent
- Cleaning Fluid
- Working Techniques
- Caution
- Making the Mold
- Making the Car Body
- Finishing Floor Section
- Upholstery
My Favorite Sections of Book: Selection of the Best Design AND Sketching
The first two sections are my favorite parts of the booklet. Let me share with you the text of the section on “Sketching” along with relevant photos. I wouldn’t be surprised if Doc’s good friend Hugh Jorgensen penned part of this too. Here’s what it has to say:
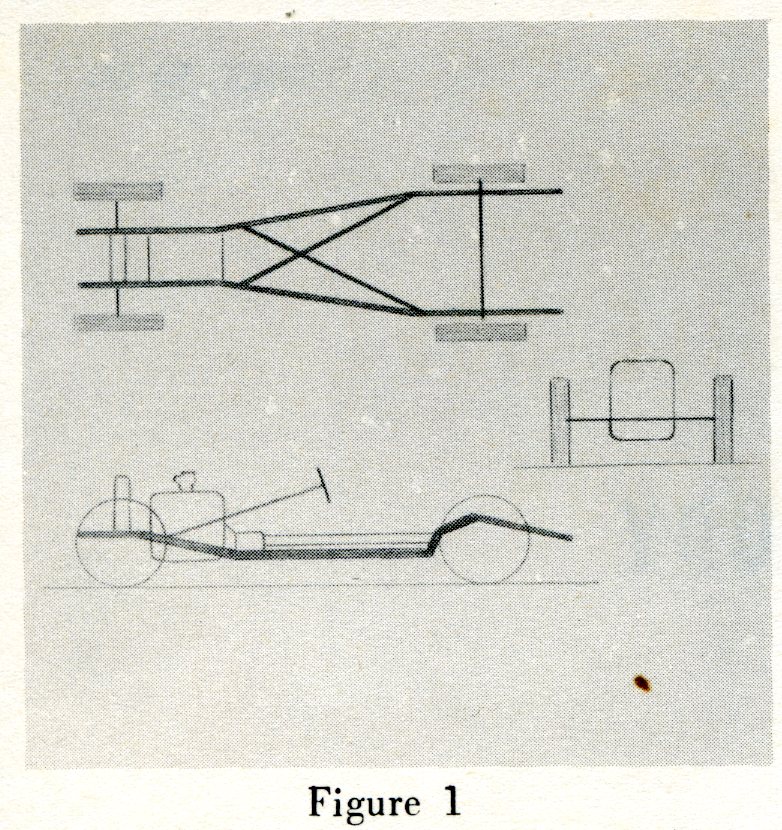
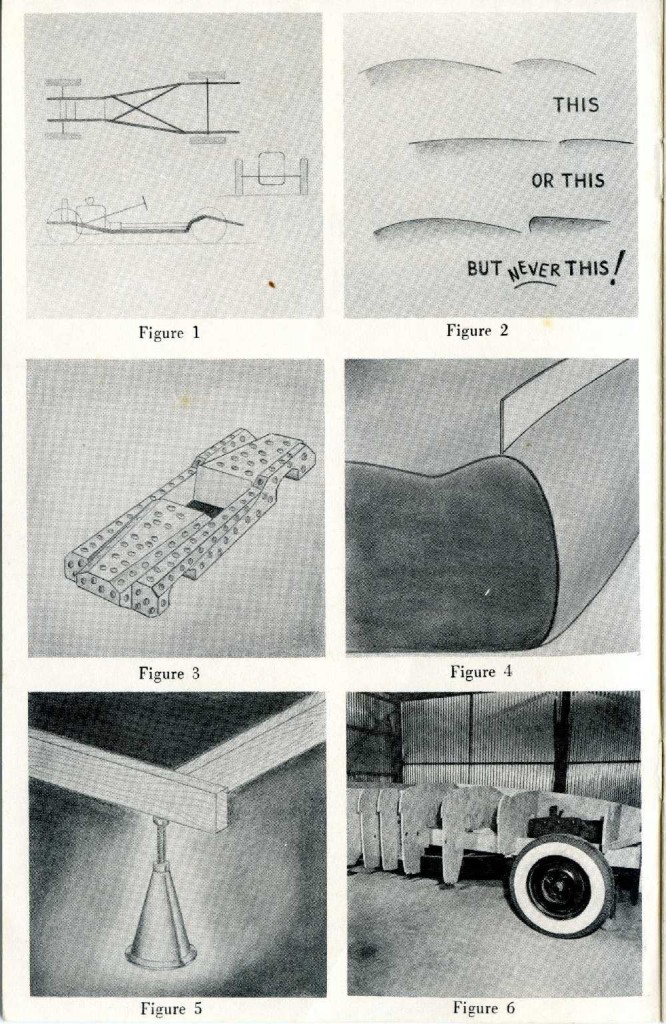
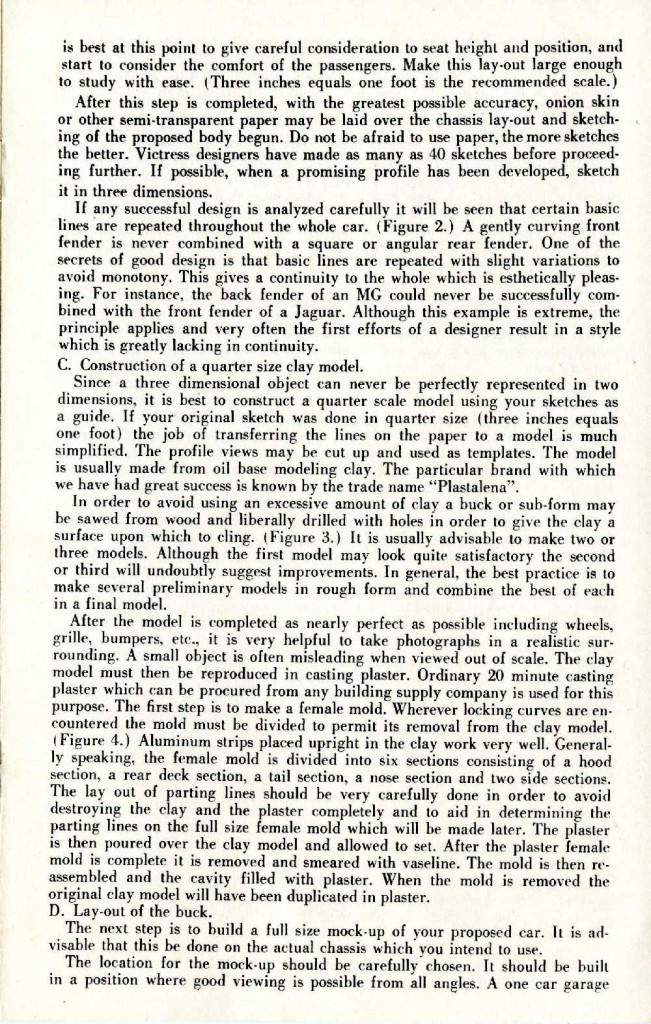
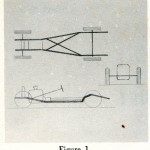
A car body is, first of all, a functional container. It must provide for the passengers, allow luggage space, and accommodate all the mechanical units of the car. The job of the designer is to do this in an attractive and original manner. Therefore, the step is to lay out, in very exact detail, the wheels, engine, radiator, frame, steering, etc., in the side, front and rear views.
It is best at this point to give careful consideration to seat height and position, and start to consider the comfort of the passengers. Make this lay out large enough to study with ease. (Three inches equals one foot is the recommended scale.)
After this step is completed, with the greatest possible accuracy, onion skin or other semi-transparent paper may be laid over the chassis lay out and sketching of the proposed body begun. Do not be afraid to use paper, the most sketches, the better. Victress designers have made as many as 40 sketches before proceeding further. If possible, when a promising profile has been developed, sketch it in three dimensions.
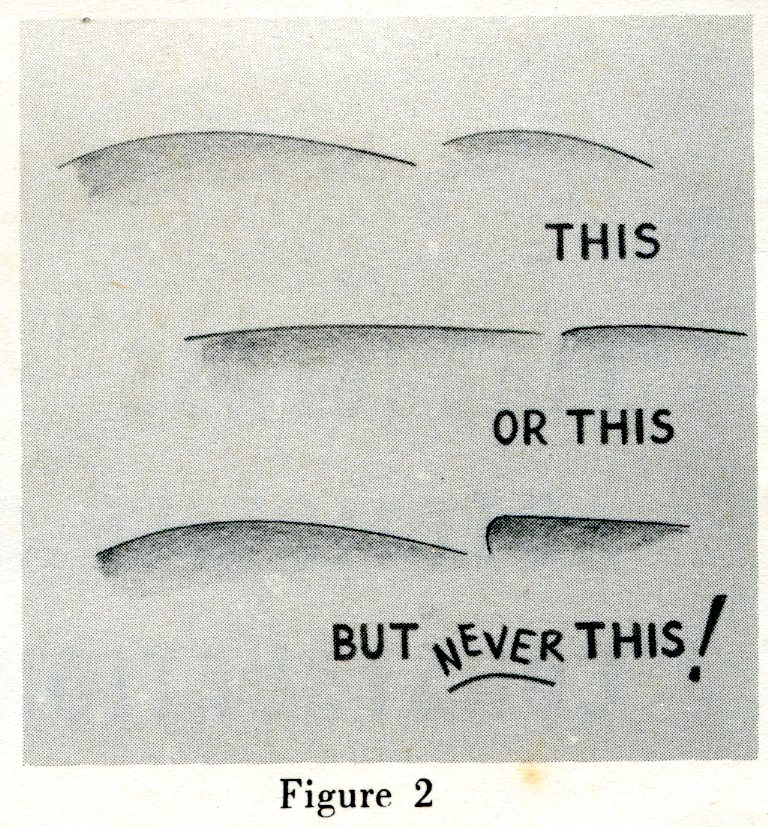
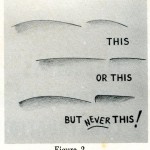
If any successful design is analyzed carefully, it will be seen that certain basic lines are repeated throughout the whole car.
A gently curving front fender is never combined with a square or angular rear fender. One of he secrets of good design is that basic lines are repeated with slight variations to avoid monotony. This gives a continuity to the whole which is esthetically pleasing.
For instance, the back fender of an MG could never be successfully combined with the front fender of a Jaguar. Although this example is extreme, the principle applies and very often the first efforts of a designer result in a style which is greatly lacking in continuity.
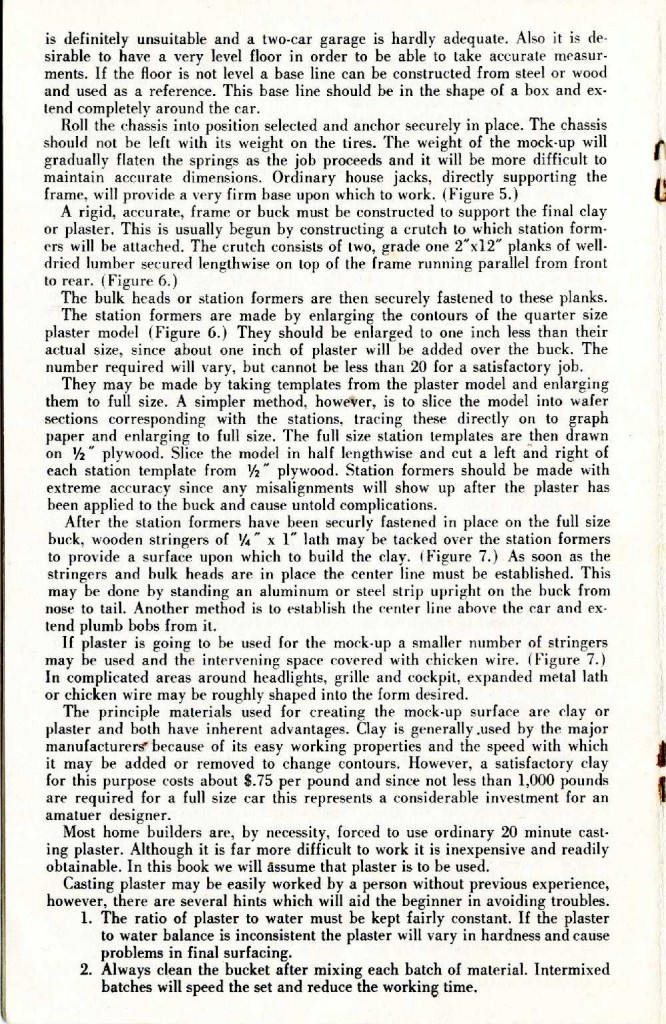
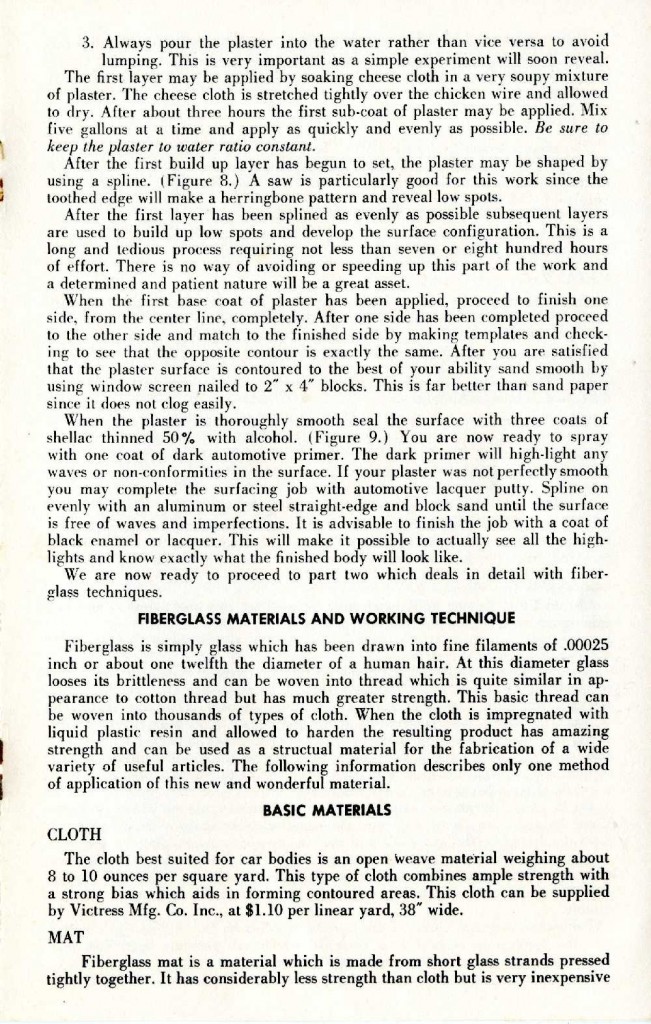
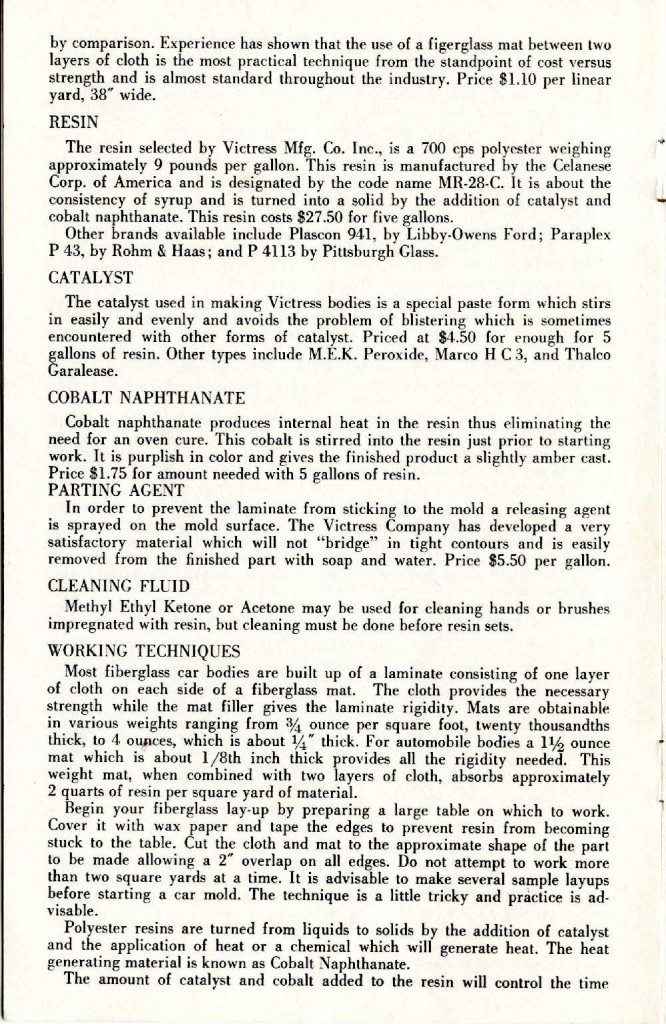
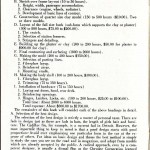
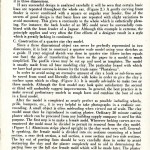
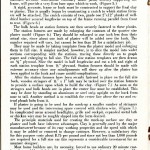
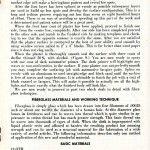
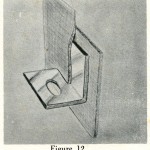
So let’s have at it gang. Here’s the 12 page booklet reproduced for you below – followed by close up scans of each of the 12 photos shown in the book. Go get ‘em! And…as with every image here at Forgotten Fiberglass, remember to use your mouse and click on the image to make it larger on your screen.
Fiberglass Automobile Body Construction (1955):
By William “Doc” Boyce Smith
Close-Ups Of Images In Booklet:

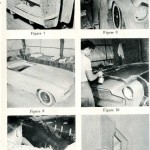
Morrie Chung (center) and Jim Dong (rear) Working on S4. Hugh Jorgensen is at Front of S4. At Bottom Left Corner of Picture Is Box of Clay Ready To Return The Oven To Be Reheated. All 3 Of Them Are Holding A Masonite Template Used As The Contour For The Ridge Of The Fender (Comments From Merrill Powell).
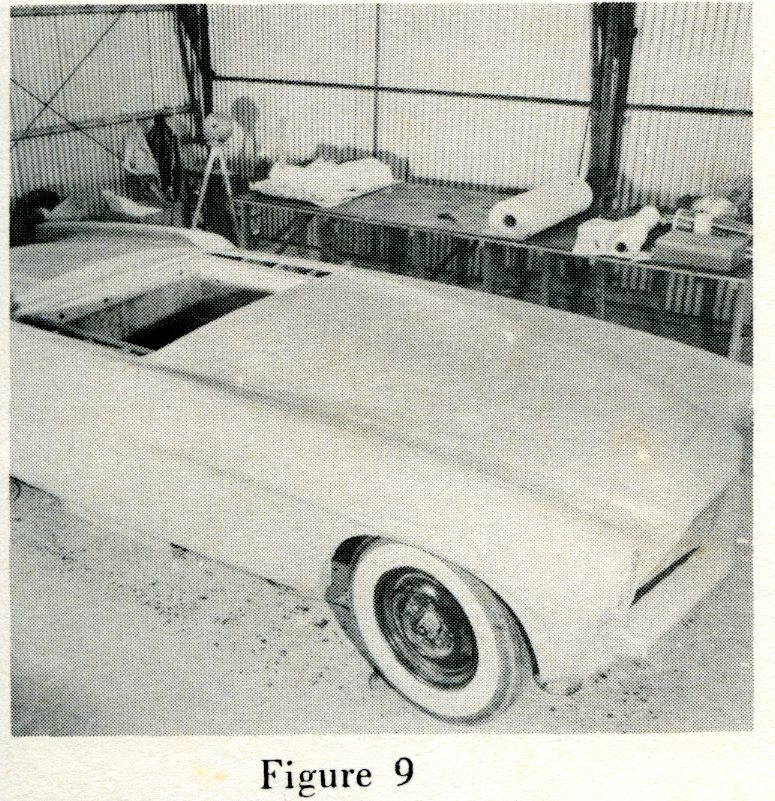
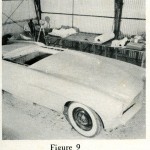
Here The Clay Buck Is Shown Fully Finished and Ready For Application of Masonite Mold Divider Sections. In Background is Laminating Table With Fiberglass Materials Laid Out On It Ready To Start (Merrill Powell, Comments).
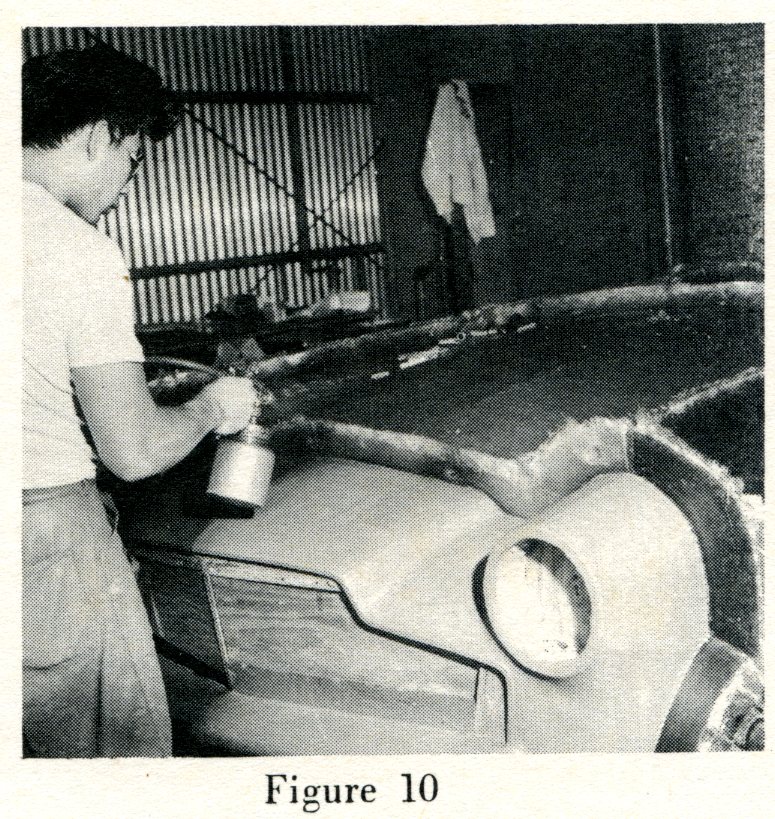
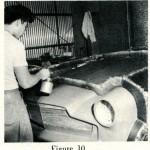
Comments From Merrill Powell: Here Is The Clay Victress S4 With The Mold Shown in Process Of Being Built. The Hood And Side Molds Have Already Been Layed Up. Parting Agent Is Being Sprayed On Clay Nose And Flanges So Nose Mold Can Be Layed Up Next.
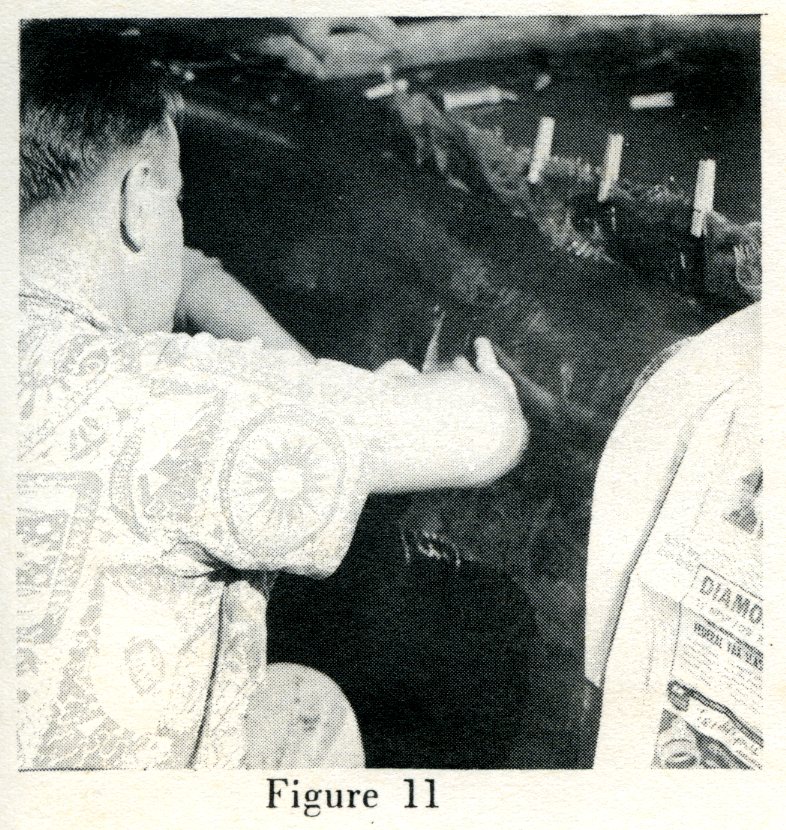
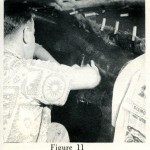
Here Doc Boyce-Smith Is Doing The Wet Lay-Up of Side Mold. Clothes Pins Have Been Used to Hold Glass Against Hood/Deck Flange to Keep It From Sliding Down On Its Own Weight (Merrill Powell, Comments).
Summary:
You’ll notice in the pictures that Doc used several photos of the Victress S4 under construction. That should be neat for all four of you out there which have found Victress S4’s and are beginning or contemplating restoring them. This might extend to Marshall Foxworthy and his U.S. Fiberglass Mark II – too 😉
Hope you enjoyed the story, and until next time…
Glass on gang…
Geoff
——————————————————————-
Click on the Images Below to View Larger Pictures
——————————————————————-

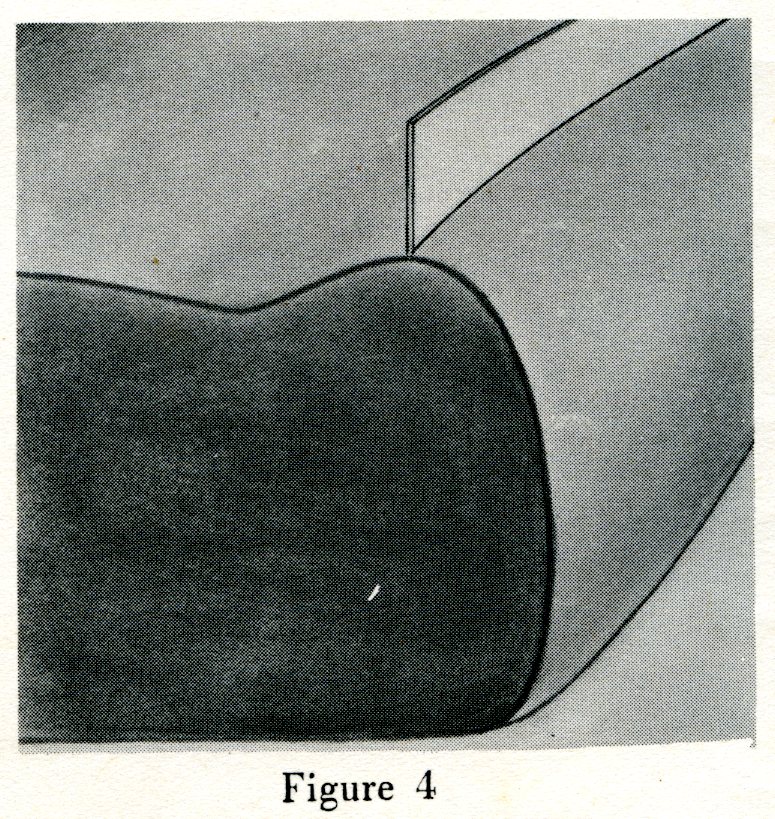
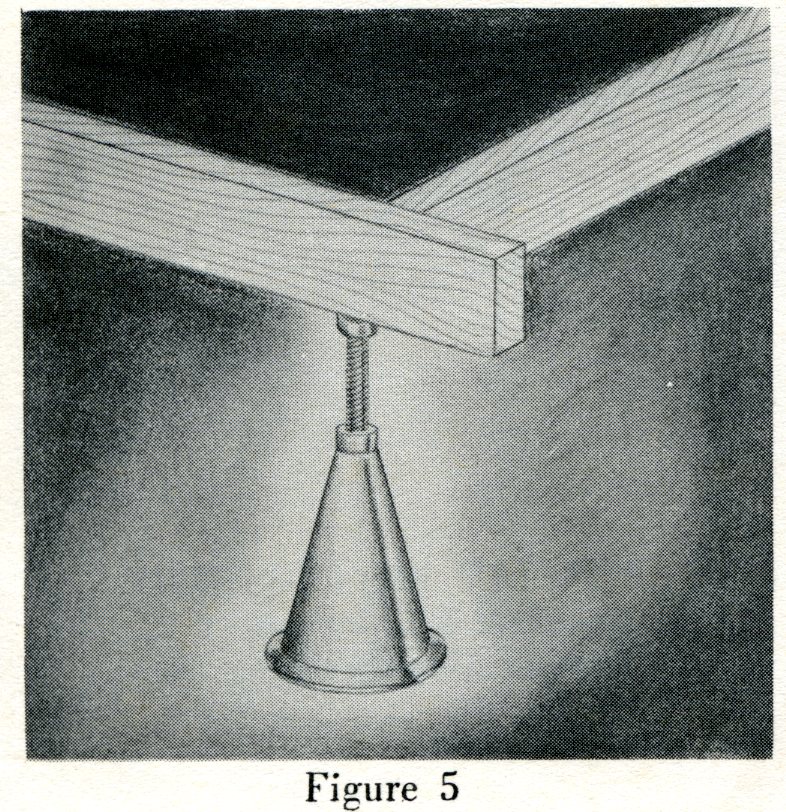
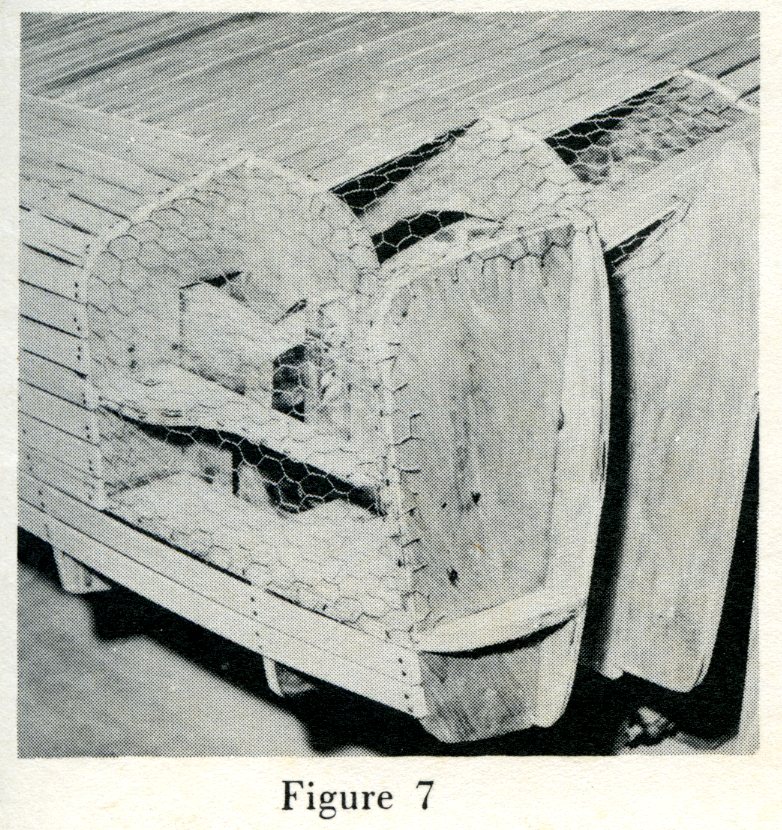





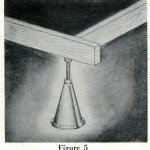
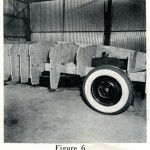
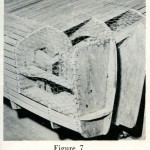
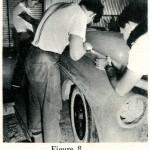
What a great booklet. Sixty years later, it is just as applicable today as it was then. A few fiberglass and associated materials have changed due to modern technology. If you want to build your own body, this booklet will guide you to a successful project.
What a facinating and very thorough explanation of the art and science needed to actually build something out of this “magic mystery material”. Wish I had known about this excellent information resource when we were teaching ourselves and learning about glass-fiber reinforced polyester resin.
With the exception of the hardtop we made for the Byers, for which we used woven roving glass mat, most of the batches we used were small. Sure went through a lot of Dixie cups that were used to make a glass fiber paste by cutting the mat into chopped fibers and mixing in the resin to get the right consistency. Worked really well for repairs or when additional thickness was needed when bonding to previously cured material. We originally used wood popsicle sticks to mix with, but found that wooden medical tongue depressers worked even better! Sounds pretty crude today, but it worked great.