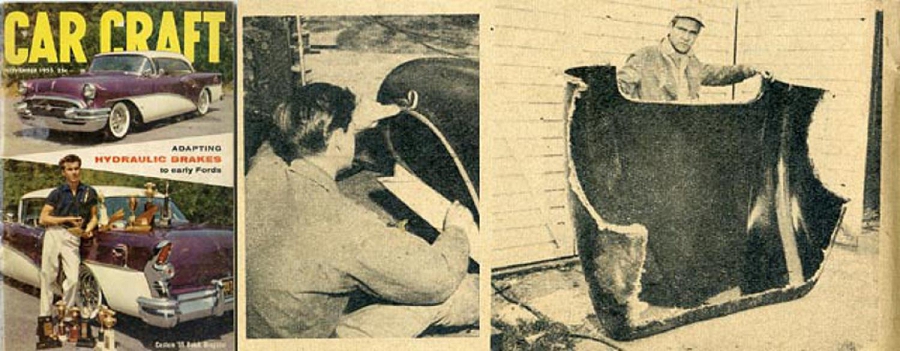
Note: This is the second in a series of articles that appeared in Car Craft Magazine about the process of designing and building your own fiberglass bodied sports car.
Car Craft published one of the most detailed series of articles ever to appear on this subject, beginning in October, 1954 and culminating in February, 1955. They went on to cap this series by publishing a “Buyer’s Guide” for fiberglass sports cars in March, 1956. Click here to review this special final article by Car Craft Magazine – one presented here at Forgotten Fiberglass in 11 separate stories.
All in all, this is an amazing series of articles published during the golden age of designing and building your own fiberglass sports car – a window into the 1950s like no other. Click here to review each of these stories on Car Craft’s “Building Your Own Fiberglass Sports Car” here at Forgotten Fiberglass.
————————–
Hi Gang…
There’s a lot to cover in this article and some great photos of Bob Sorrell too. This article focuses on building the female mold for your fiberglass body – a arduous process at best! Let’s jump in and see what Car Craft Magazine had to say about this topic – here on Forgotten Fiberglass.
And away we go….
Building a Fiberglass Car
Part 2: The Fiberglass Female Mold
By Ray Brock
In the October issue, design, mock-ups and molding of a full scale plaster model was discussed as Part One of building your own fiberglass body. That much is required, but this month we come to a section of the body building process where a little personal choice can be used.
The choice which we refer to concerns whether you should use a male mold, a plaster female mold or a fiberglass female mold. Last month’s installment brought you up to a full size plaster model which was finished off to match your own requirements. Actually, at this point, you could make a body but before you get over-anxious, read some of the pros and cons of the three methods from which you may choose.
The male mold method is the simplest but also gives the poorest results. Using this method, you could laminate a body over the outside of the full scale model described in part one and have a fiberglass body. The pro argument for this act is that there is no female mold involved but that is about as far as that argument goes. On the other side of the ledger the list is longer.
For example, the body won’t be smooth since seams and other thickness irregularities will appear on the outside of the body instead of the inside where they aren’t visible, the body will not release from the male mold, so the mold will have to be gouged out of the body shell and general working problems are just plain nasty especially when the problem of obtaining a smooth external finish arises.
Of the other two methods, the plaster female mold is the cheaper but is not as easy to handle as the fiberglass female mold. A body section mold made of plaster is not only heavy and hard to handle but it is also very susceptible to cracks and chips when the mold sections are being moved about or assembled.
The fiberglass female mold is the best method to use when making a fiberglass body. It is light in weight, flexible instead of brittle, the mold can be used as many times as you wish, body finish will be very smooth and any patching or sanding on the mold can be done easily. The big drawback is cost. Glass cloth, mat and resin to build a female mold for the Sorrell car cost almost $500 but the molds he made were possibly thicker and better than necessary since he planned to make dozens or even hundreds of bodies from the single mold. For those of you who are more concerned with cost on a one-body basis, we will devote Part Three next month to the process of making a plaster female mold.
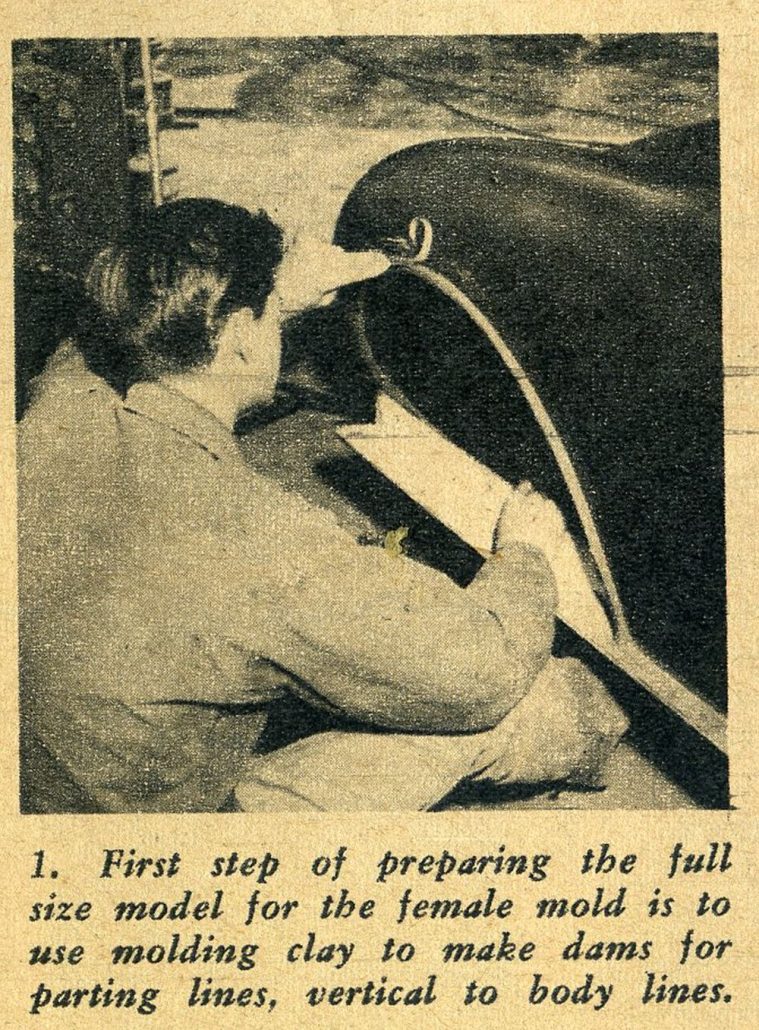
The first step of making a female mold is to decide just where the parting lines will be. They must be placed so that the mold will not wrap around the model and prevent the female mold from pulling off cleanly when completed. The part lines are made using oil base clay after the body lines have been analyzed to determine the logical position for them. With the clay molded two or three inches high along the best lines for the mold to be parted at, a putty knife or other thin straight edge can be used to cut a vertical line through the clay to the model surface. When the clay dams are complete, the full size model will be divided into several sections from which the female mold pieces can be easily removed.
The full scale model must first be prepared so that the sections can be easily removed after they are formed. A good coating of automobile body wax should be applied and hand rubbed or buffed until it is a hard glossy film. The wax film will not act as a releasing agent however, so releasing agent must next be applied over the wax. Bob Sorrell sprayed Thalco Garalese over the waxed surface of his full scale model for a releasing agent. The agent should be sprayed instead of brushed on because brush marks might show up in the female mold.
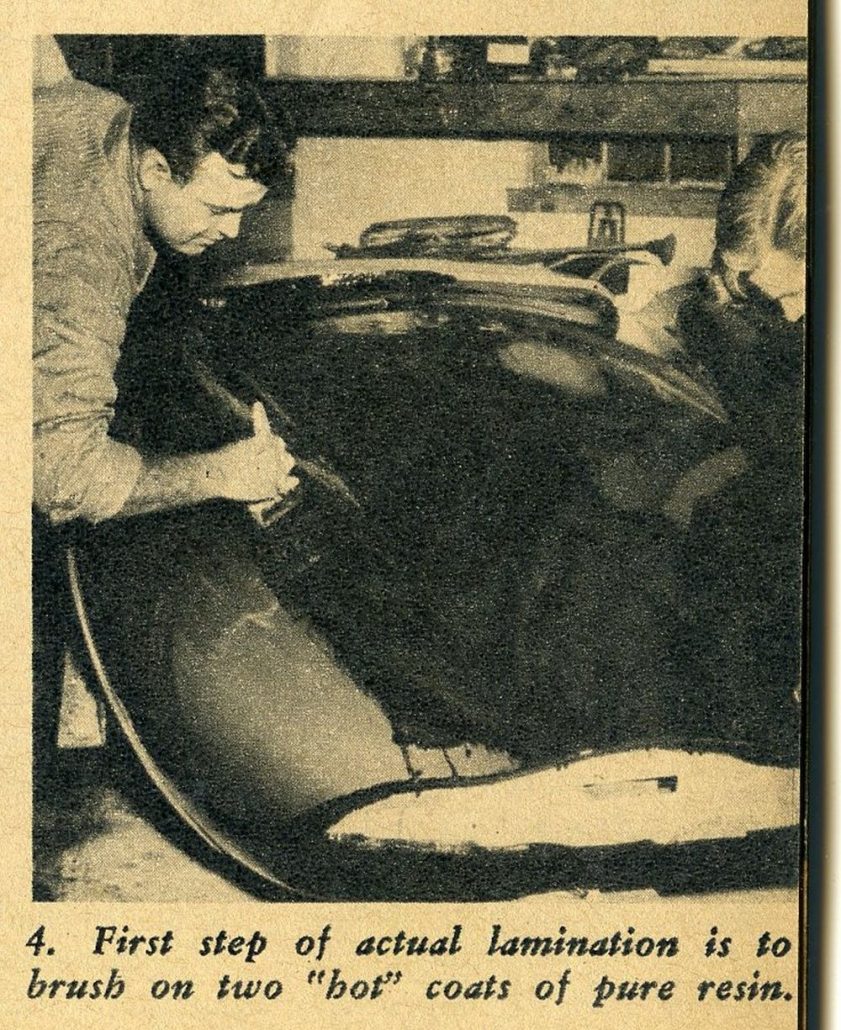
The first step of the actual laminating process is to apply a “hot” coat of resin to the section to be laminated and also on the clay dam face at the parting lines. The term “hot” means that a high percentage of catalyst is used to make the resin cure fast. After the first “hot” coat has set about thirty minutes, the second layer which is also a “hot” coat should be applied. Black resin dye should be used in the second coat since it makes a dark background that will show up any air bubbles when the actual body layup starts.
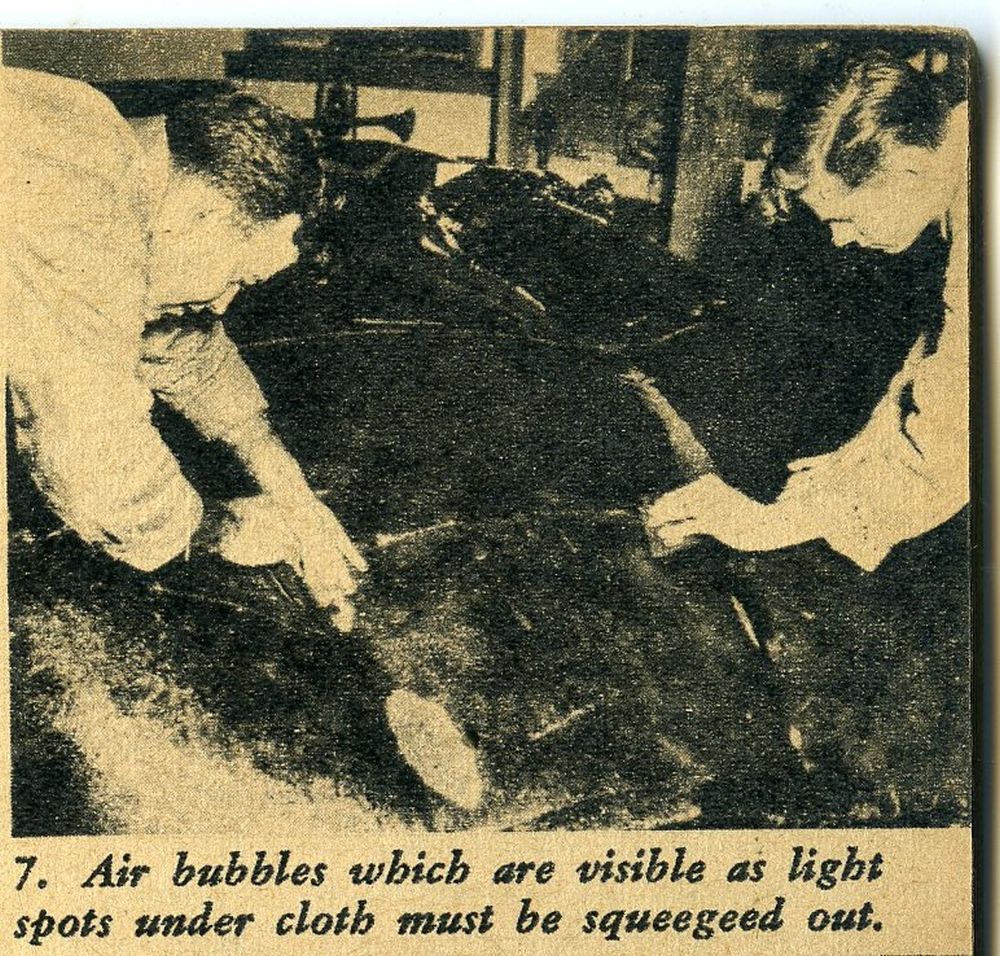
After the second “hot” coat of resin has set about thirty minutes, apply a single layer of 1/2 ounce surfacing mat saturated with resin that is slow setting and requires less hurried work. The reason for the initial layer of mat instead of cloth is that it is easier to sand should any imperfections have to be smoothed out in the finished mold. Squeegees made from thick rubber should be used to force all air bubbles from between the mat and the “hot” coats. The mat should be brought up the face of the clay dam at the parting line and squeegeed down firmly at the base of the clay dam to make sure that a square corner will be formed at the edge of each section. After this is done, the section should be allowed to set up overnight.
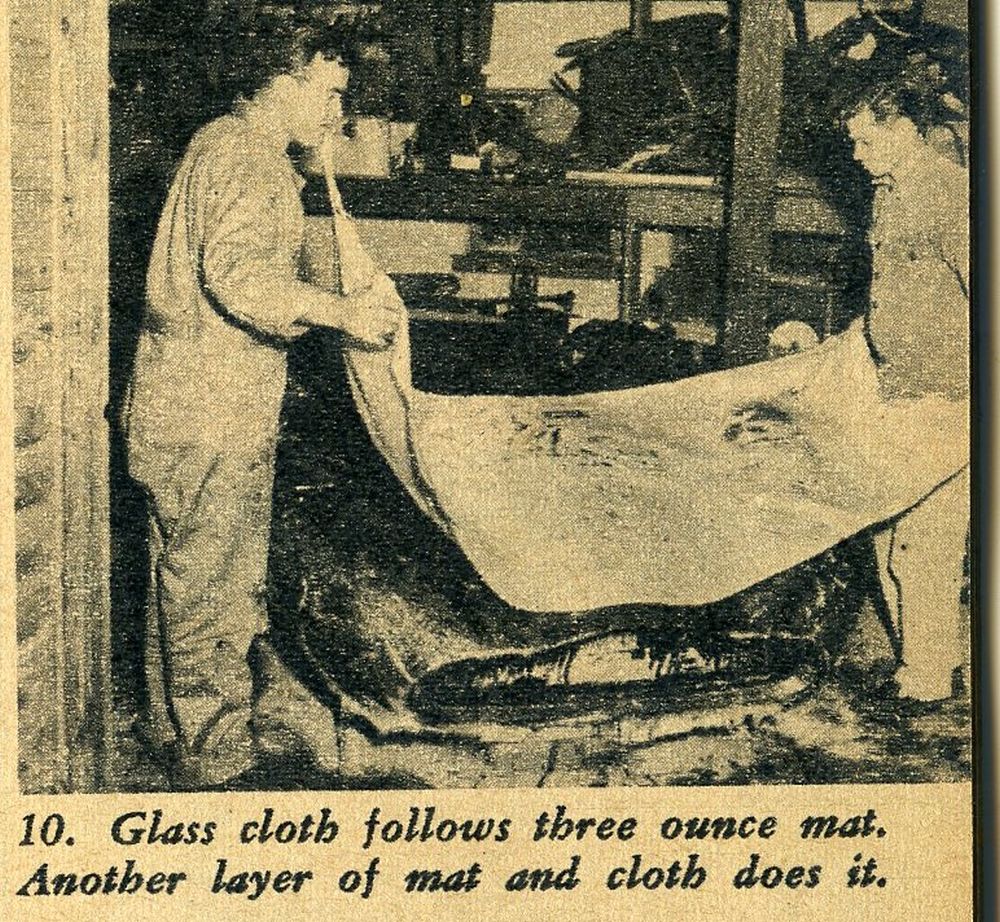
After the above is completed and set up, a layer of three ounce mat is next, followed by a layer of ten ounce chrome treated cloth. Both are saturated with slow setting resin and all air bubbles are squeegeed from between the layers as each is applied. There are cheaper materials than the chrome treated cloth but the chrome treatment keeps the cloth from raveling out when cut in irregular shapes to fit body contours. Another overnight period should be allowed after these two layers have been completed so that they will set firmly.
The last step is to repeat the above step of a layer of three ounce mat and one of ten ounce cloth. After these final layers have set up, the clay dam can be peeled away and the area next to the completed mold section made in the same manner as the section just finished. Repeat the whole operation including waxing, spraying releasing agent, etc. Don’t forget to spray releasing agent on the face of the fiberglass flange that was formed by the clay dam.
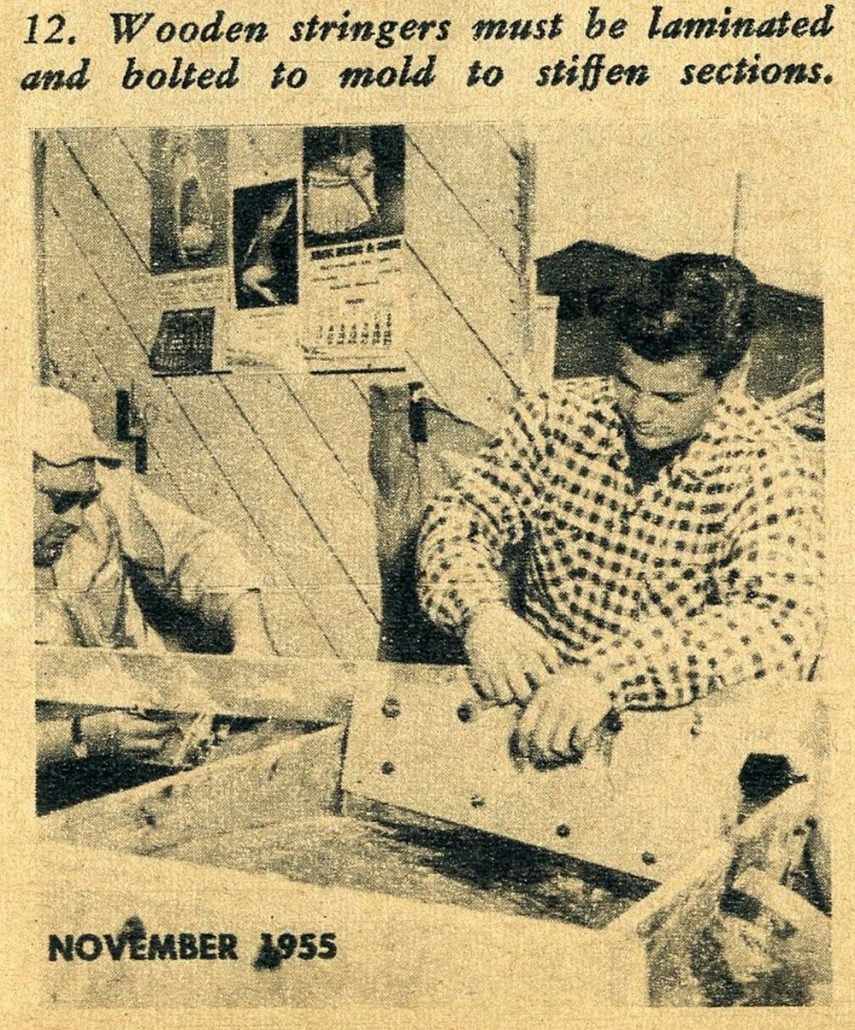
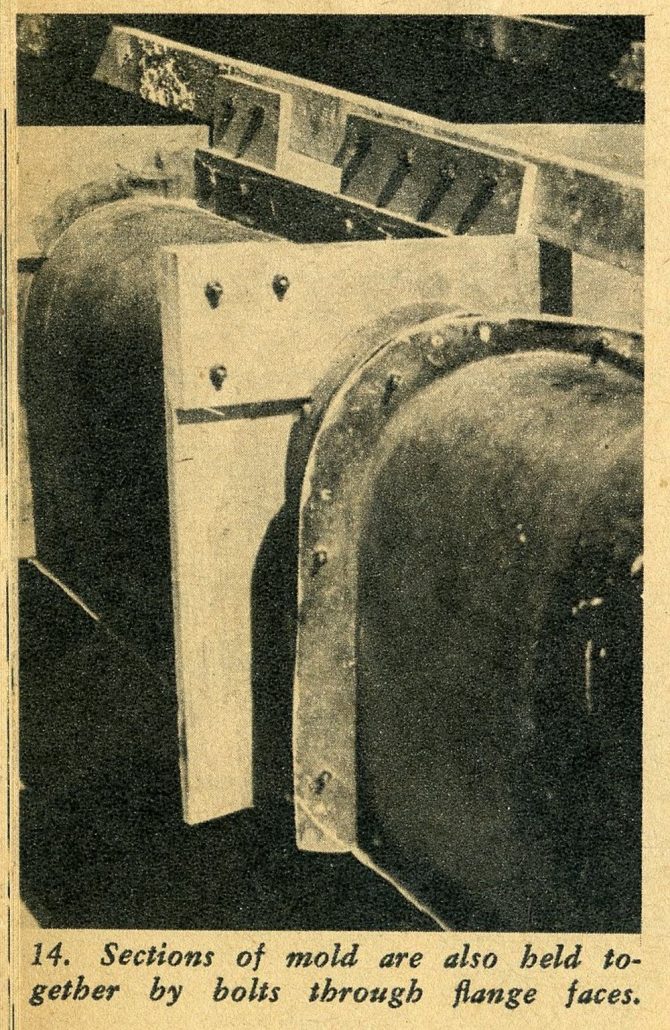
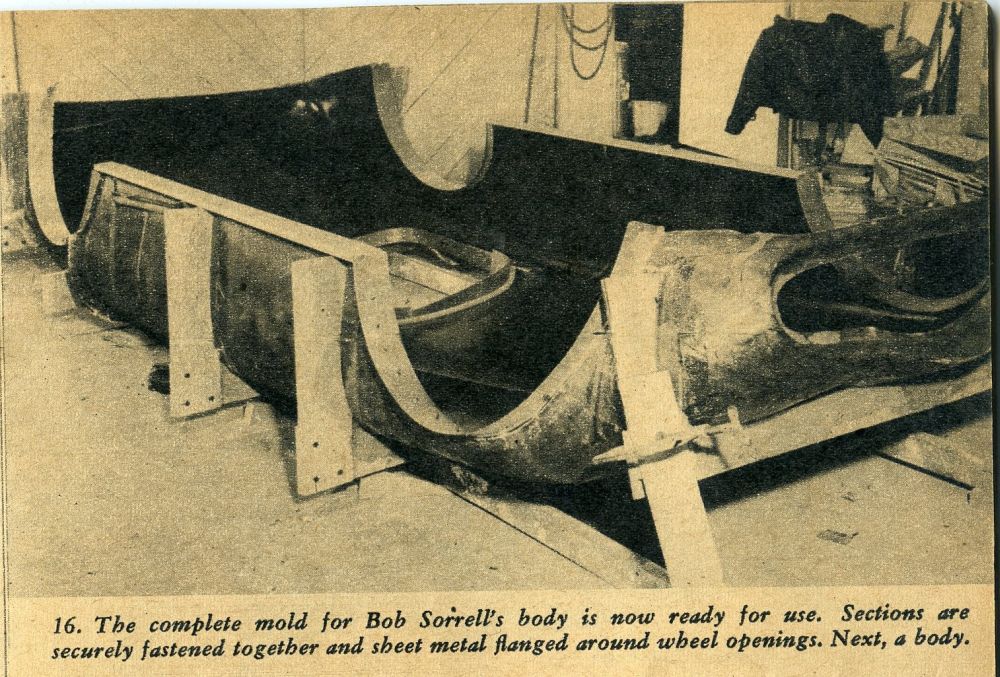
When the model is completely encased with sections of the fiberglass female mold, the next step is to form a framework that will hold the sections in their correct relative positions. Since the female mold is turned upside down when a body is being laminated inside it, a pair of long flat stringers should be used as a base for all of the body sections to fasten to. These stringers will lie flat on the floor when the mold is inverted and the sections should be fastened to them with bolts so that they can be separated for removing a completed body. The fiberglass flanges of the individual sections should have holes drilled through them at six or eight inch intervals so that they can also be bolted together to hold the sections in proper shape yet be easily disassembled.
Wooden or metal braces which are used to fasten the mold sections to the flat stringers should be laminated to the sections by means of strips of glass cloth or mat saturated with resin. The fiberglass female mold should be supported so that there will be no sag any place in the mold when the entire assembly is bolted together after removal from the full scale model.
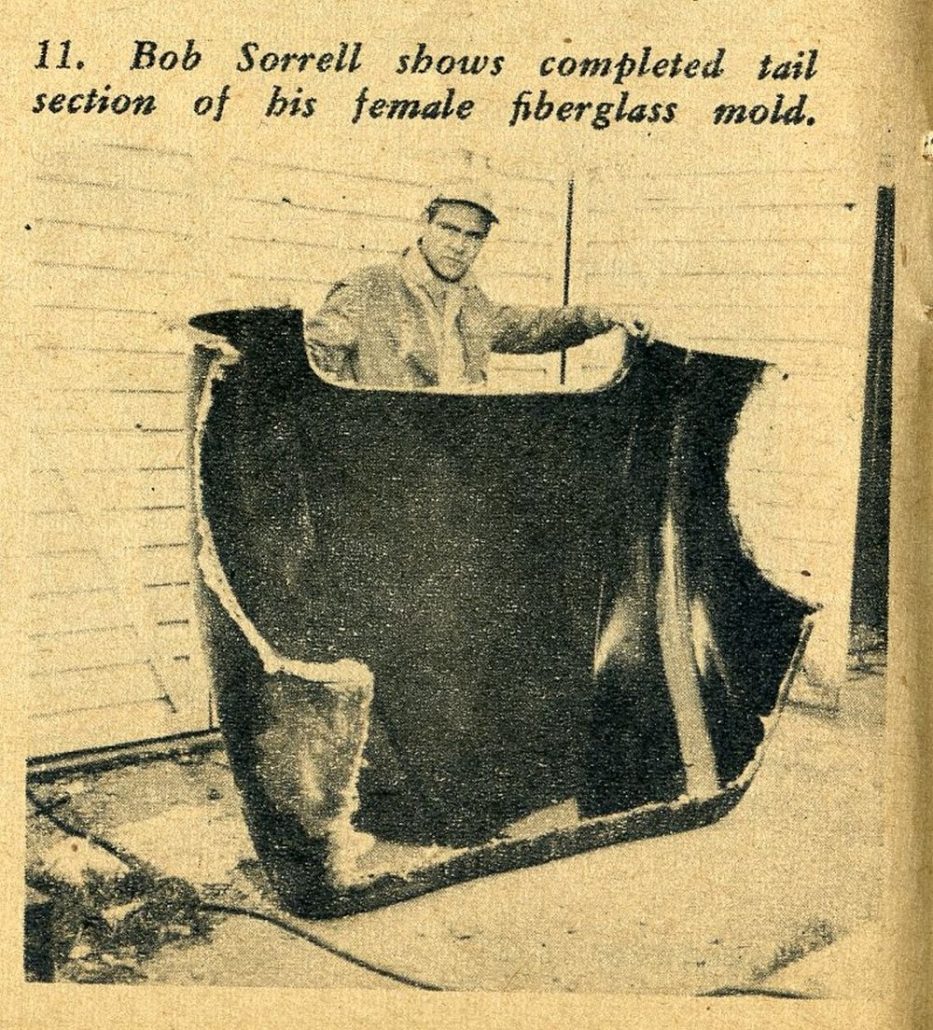
When all of the braces are located, the sections can then be taken apart for the first time and removed from the plaster model. You now have a full size female mold. If proper procedure was followed while constructing the plaster model and the female mold, you will only have to trim some of the edges with a hacksaw or sander and you are ready to start building bodies. If there are any air bubbles visible inside the mold near the surface, they should be picked out and filled with a mixture of resin and glass fibers, then sanded smooth after they have set.
As stated previously, the fiberglass female mold is expensive but is the more professional method. If you intend to build more than one body, this should be your choice but if not, check with us next month because we will show you how Bob Sorrell built his first mold using plaster. His plaster mold was only used to build two bodies before he discarded it in favor of the fiberglass mold shown here.
There are several rules when it comes to working with resins and glass that are governed directly according to the brand of materials you use, so for this reason we will omit them from this text. The company which you buy from will furnish instructions. One thing which we will mention though is that acetone is the only thing which will remove the resin from your tools and hands. Keep plenty of it handy and clean your squeegees and shears immediately after they have been used because the next day, it will be too late.
Refer to the yellow pages in the phone book of your city or the nearest large city to you for information as to where you can purchase plastic materials to build a female mold. Although we refer to the finished product as fiberglass, the word is actually a common derivation of the Owens-Corning trademark name “Fiberglas” and distributors for the various materials will be listed under the Plastics heading in the classified section of the phone book.
Summary:
Hold onto your fiberseat gang…our next article in this series will cover the building of the plaster splash female mold. And you thought the hard work was over
Hope you enjoyed the story, and until next time…
Glass on gang…
Geoff
——————————————————————-
Click on the Images Below to View Larger Pictures
——————————————————————-





Love the article! It’s always good to see your idols at work. Even better when they have the stereotypical pin up calendars hanging in the background. Although the molds are way more complicated than what I will need for the Manning build it is still great information.
@Mel – this is a five part article in total. I bet you’ll enjoy parts 3-5 when we post those too Thanks for your interest….Geoff
Great two part article..I think I should have read it before I did my mock-up and mould..It’s too late now tho the damage has been done..
Mel Keys