Hi Gang…
I’ve asked Bob Peterson, resident Kellison Aficionado and Kellison owner, to keep us up-to-date concerning the restoration progress of his Kellison J2. When we last heard from Bob, he reported in with the story of how and why he acquired his car.
Click here to review Bob’s first story here on Forgotten Fiberglass.
Bob was kind enough to report in with another update today. Let’s see what he’s accomplished so far
Take it away Bob!
Bob Peterson: Forgotten Fiberglass “Kellison Correspondent”
Kellison J-2 Restoration: Progress
For those Forgotten Fiberglass fans who don’t know me; I’m Bob Peterson in Cedar Rapids, Iowa who’s been a fiberglass fan since the mid 1950’s. I was a young teenager interested in cars and in particular all things fiberglass. I’ve continued my interest in fiberglass-bodied cars to this day.
In May 2011 I submitted a story about my Kellison J-2. It was published here and I volunteered to be the Forgotten Fiberglass coordinator of Kellison information. I’m the owner of a Kellison J-2 Coupe (1962), which is in the process of restoration.
After bringing my J-2 Kellison back to Iowa from Montana in early 2011, I started planning the repairs required. The most obvious repairs are the two broken windshield posts, roof split between the bubbles, and the front nose. When these repairs are complete the body will be very stable. Then the hard work of preparing the rest of the body for paint begins.
This and future articles are not intended to be how-to articles. I’m reporting what I did and sharing some photos taken during the restoration process.
Working with a fiberglass body old or new is not the same as working on a steel body. An expert auto body technician of today has to change his auto body techniques to work on a fiberglass-bodied car. If that body was made in the 1950’s and 1960’s many precautions must be made first.
The fiberglass of the ‘50’s and ‘60’s is not of the same quality as today’s fiberglass. Many bodies made in the 1950’s are starting to de-laminate. A book could be written on how to restore a 1950’s fiberglass bodied car. So, before you jump into your forgotten fiberglass project, be sure you know what has to be done and in what order those things MUST be done.
If you get this order/process wrong, whether you do it yourself or hire someone to do it for you, it could get very time consuming and expensive real quick.
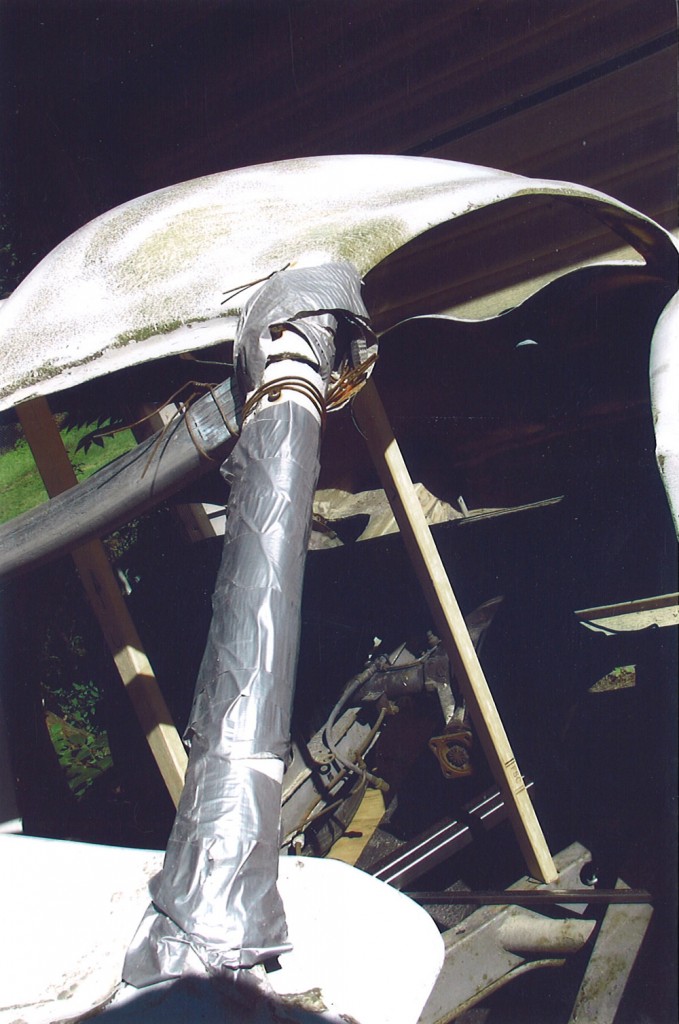
Photo 1: Condition Of Car As Purchased
Before the J-2 could be transported back to Iowa, the windshield posts required major support assistance via, duct tape, bailing wire, wood supports, metal tubing, etc. More tape, straps, and wood were added during the trip back to Iowa to keep the roof attached to the car. The left post was totally broke on the top and bottom. The right post was broke at the top.
The rear window pillars were the only intact roof support for the roof. I used a center roof strap to keep the roof from being blown off. Because of the center strap tension to hold the roof in place, it also added to the center roof splitting. The front roof center had split because of the windshield posts gave no support to the roof.
The last thing I wanted to have happen was for the roof to be blown off, a semi truck run over it, and then have to pick up hundreds of little fiberglass pieces that used to be a J-2 bubble roof. The Kellison arrived in Iowa with the roof battered, beaten, but still attached.
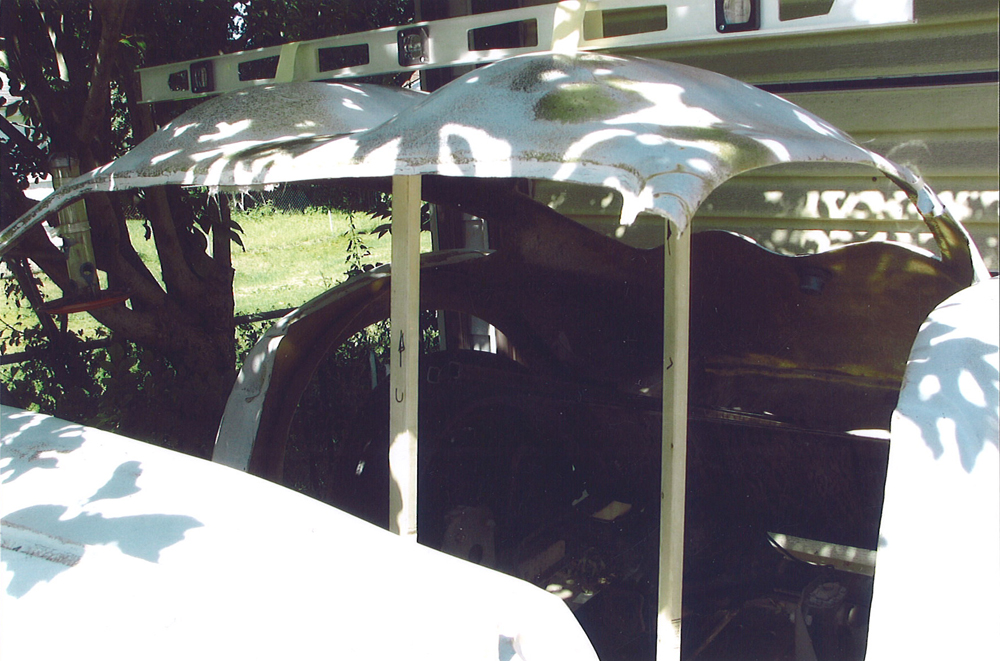
Photo 2: Aligning Roof Before Repair
I used wood struts to support and align the roof to their proper position before creating the new windshield posts and repairing the center roof split. The original posts were three fiberglass layers. They were too thin for supporting a roof and windshield. Both posts had to be recreated/fabricated. With the body and roof leveled and correctly aligned the roof repair begins.
Kellison created the body in 1962 with a chopper gun. If you are not consistent while spraying fiberglass into a mold with a chopper gun, you may end up with thin areas on the body. When this body was created, they used the faulty technique of not spraying enough fiberglass into the mold for the windshield posts.
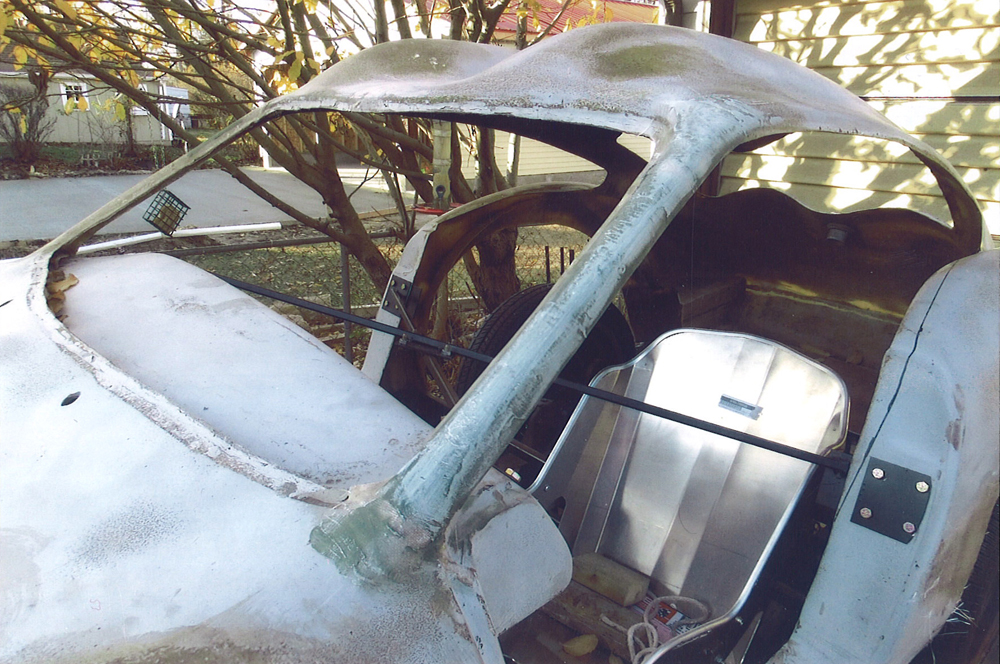
Photo 3: Roof Repairs Complete
New windshield posts are fabricated and waiting final finishing. My new posts are 9+ layers of fiberglass. I have also repaired the area between the roof bubbles at the front header that split 14+” during the return trip. The front roof header and repaired roof center are now each nine layers thick. This is the way these areas should have been fabricated in 1962.
When the windshield (Lexan plastic) is installed, I am so confident about my repairs that I could stand on the roof bubbles with no worry (I’m 200 lbs.). Weight of repairs added to the car: `2+ lbs. All areas of a fiberglass body do not have to be many layers thick. Just the areas that may flex or have high stress must be strong. Non-stressed areas can be 1/16”to 1/8” thick. High stressed areas that may flex may be 1/8” to ¼” or more depending on the area’s function.
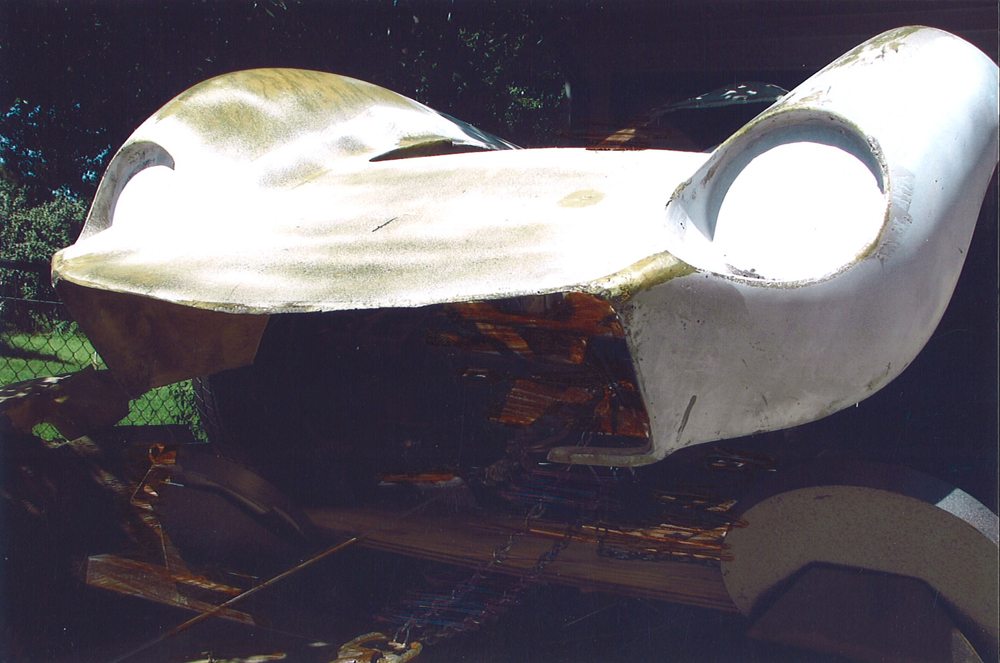
Photo 4: Damaged Grille Opening
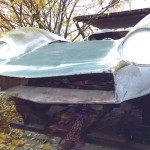
The lower front lip of the grille opening was damaged and is now missing. This is due to the size and thickness of the original piece being only 1-1/2” deep and 3 layers of fiberglass. This is much too small and thin for a body part in this vulnerable position.
The upper grille lip was battered and beaten. A lot of work will be required to restore and correct this area.
Note: The headlight buckets have never been cut out. This shows that the car has never been on the road in its 49 years of existence.
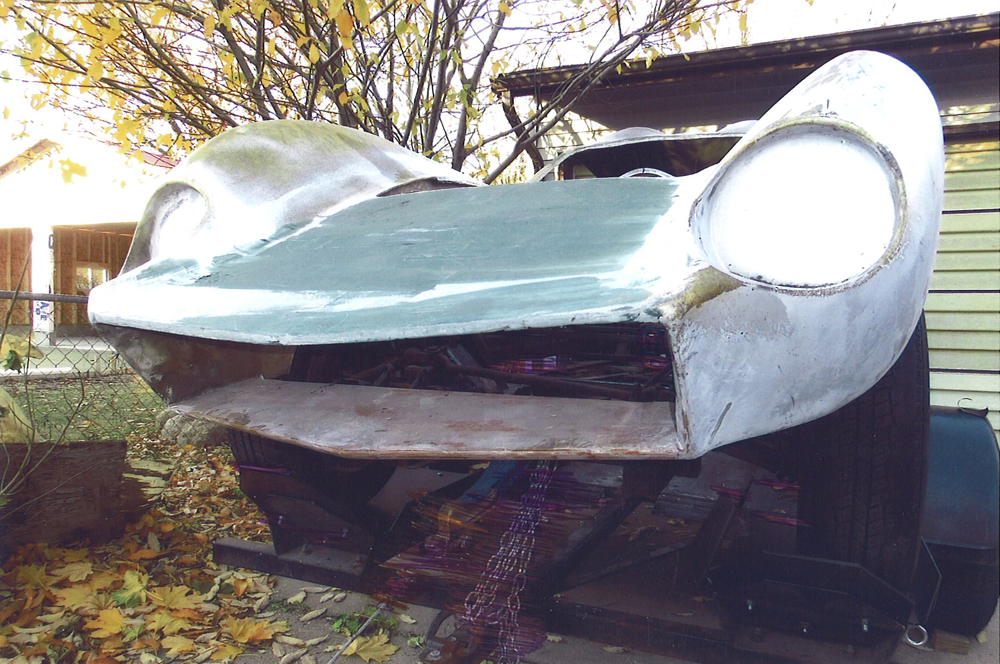
Photo 5: Grille Opening Restored
The lower front portion of the grille opening is now complete and is much stronger than the original. I created it to match the original profile in appearance. Instead of 3 layers of fiberglass I used ¾” plywood as the base. It is covered with a couple layers of fiberglass.
My new opening is now 8” deep instead of only 1-1/2”. It also reinforces the complete front section of the body. The original Kellison front profile remains the same. This new reinforced lower section will provide better airflow to the radiator. I’ve reinforced the upper nose near the hood opening to correct a stability issue. The front lip is now restructured/reformed and has the correct profile again. Lots of sanding and paint preparation is ahead on the nose. Repair weight added to the car 4 lbs.
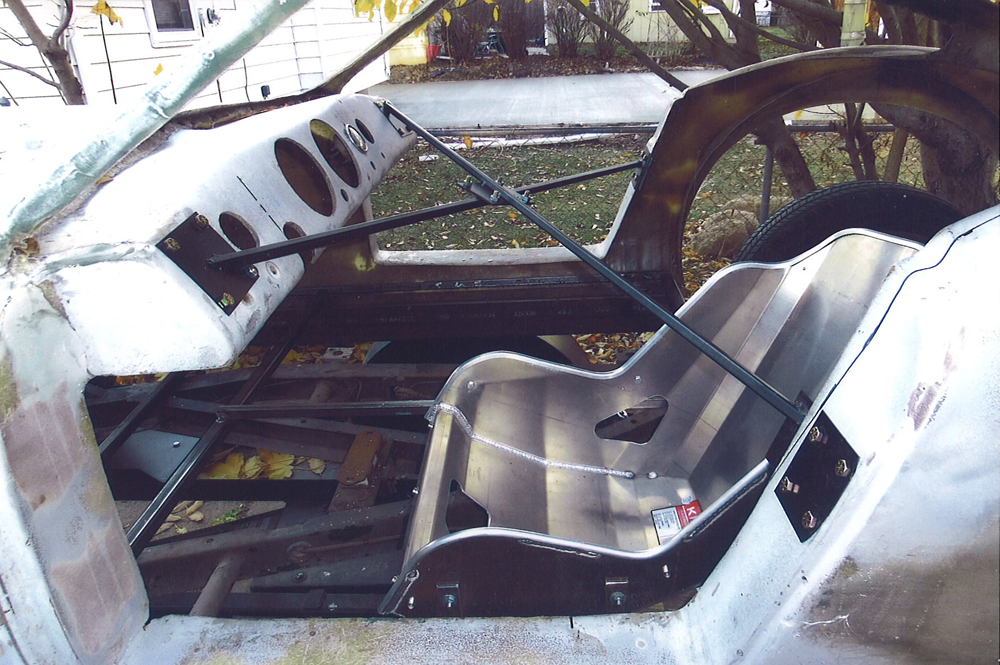
Photo 6: Create An ‘X’ Frame
How do you keep your fiberglass body ridged and aligned when you lift one end or remove it from your chassis?
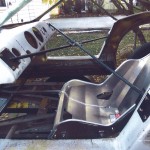
A very flexible body may over stress the fiberglass and most likely will crack the paint. Solution: Create an ‘X’ frame. The style of ‘X’ frame shown in this photo can be used with any fiberglass body regardless of body maker.
After I had the body leveled front to back and side-to-side, I created an ‘X’ frame that would hold the body in the correct shape/position. My ‘X’ frame is bolted to the dash and door jams. The ‘X’ frame is made so the doors can remain on the car and closed when the body is lifted off the frame. The car at this time is not finished so drilling holes in the dash for the ‘X’ frame was a minor issue for me.
When the car is completed I will decide at that time where and how to mount a new ‘X’ frame for future use. Maybe I’ll just keep my original ‘X’ frame and leave the holes in the door jams, and dash. Then should anyone ask why are there holes in my dash, I’ll just say, “It lightens the car.”
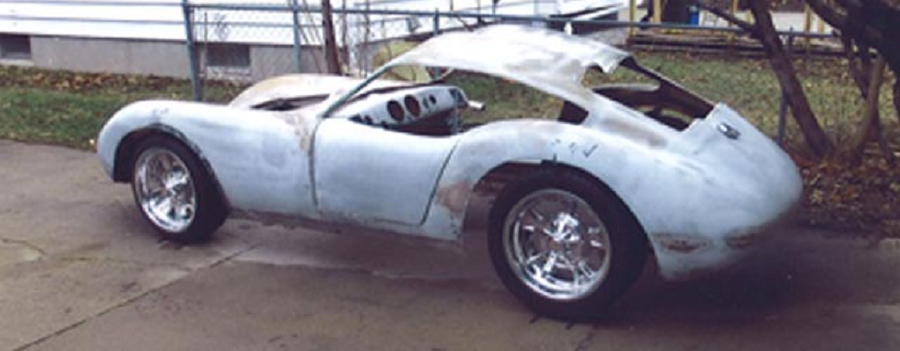
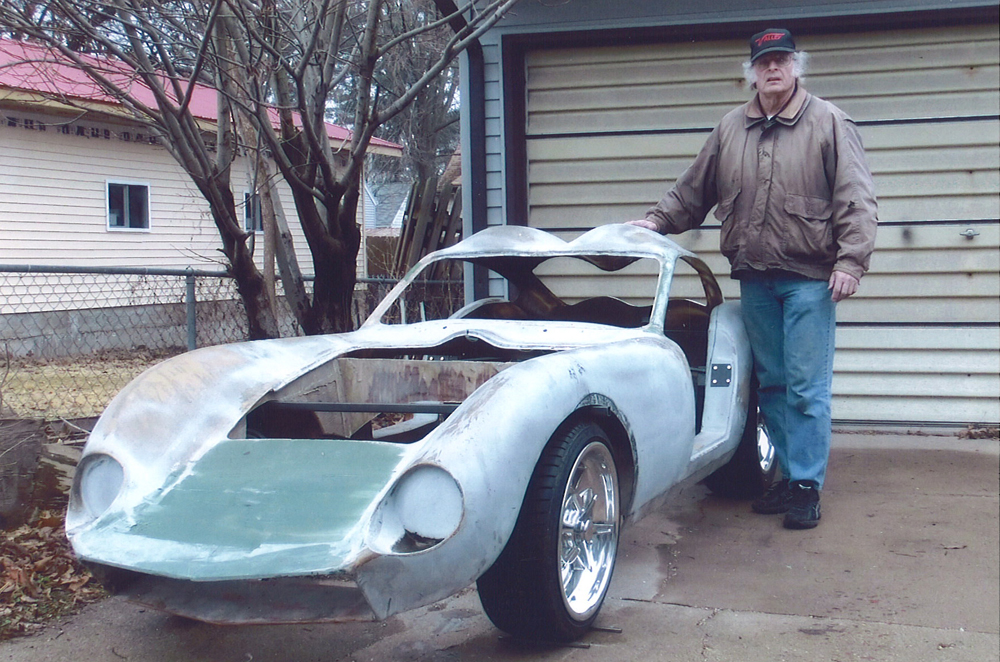
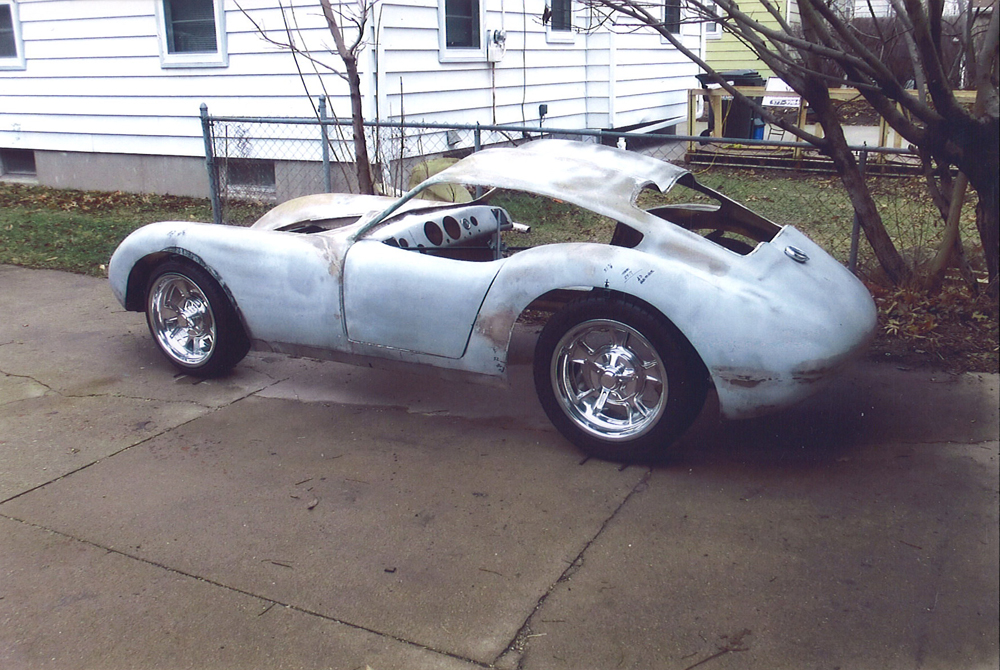
Photo 7: J-2 Height And Other Previews
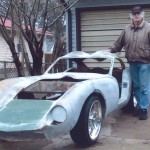
This photo shows what the final height of the J-2 will be. The car’s overall height is 43”. I wanted to get it down to the magical figure of 40” but Kellison made the J-2 for a person 5”-6” to 5’-8” in height. I’m 6 feet and I’ll fit with a couple of inches to spare if the overall height is restricted to 42” or 43”.
It’s a tight fit for me to get in but once in the Kirkey racing seat, it’s a perfect fit. Getting out is still a challenge. This will not be a grocery getter or shortstop errand runner. The wheels are Halibrand and tires are Firestone front and rear. I wanted to use period correct tires but the ones I really preferred were Hoosier 1960’s styled race tires and not DOT approved.
Now, can I install a 302 Ford V8 with a C4 transmission and have room for my feet? A future article will address this and other pending issues such as front suspension and rear suspension components. I think there is room for an adequate radiator. I’m guessing as to the final ready to drive weight of the J-2. Is less than 2,000 lbs. possible?
Photo 8: Kellison Design Influences
In my previous Kellison article I mentioned the influences of Kellison’s bodies with other designers and manufacturers. Today I’m going to comment on photo #7 and #8 in relation to General Motors’ Corvette. I’ve had many people tell me that the back of my car looks like the Stingray coupe.
I thank them for their comment and then I inform them of the fact that my J-2 Kellison existed six years before the C2 (1963-1967) Corvette Stingray Coupe was sold to the general public. Jim Kellison did not have access to GM’s prototype designs, but GM VP of Design Bill Mitchell and his designers Larry Shinoda, Peter Brock, and Chuck Puhlman knew of Kellison’s work.
They knew because Jim was selling his fiberglass bodies to the general public in the mid 1950’s (six years before the Stingray Coupe hit the streets). GM’s Stingray Coupe design was just an idea or paper or clay, and hidden behind closed doors when you could purchase a Kellison J-1 or J-2 body.
- Compare the rear side profile of the C2 (1963-1967) Corvette Coupe to the rear side profile (photo #8) of the Kellison J-2. Corvette C2 Coupe is released six years after the J-2. Food for thought-what other car in 1957 or prior had a similar rear profile?
- Compare the front grille/nose of the C3 (1968-1982) Corvette to the grille/nose (photo #7) of the J-2. Corvette C3 is released eleven years after the J-2.
- Compare the grille opening of the C6 (2005-Present) Corvette to the grille opening (photo #7) of the Kellison J-2. This is 48 years after the J-2.
Many designers – both professional and amateur – created concept drawings similar to the Corvette coupe and Kellison. These were produced both before and after the creation of the J-2 and Vette. Can you name them? Some have been presented in previous Forgotten Fiberglass articles.
A side note: Compare the roof bubbles of the C6 Corvette (2005-Present) to Zagato’s 1957 Ferrari double bubble roof. This is 48 years after the Zagato Ferrari.
Did Jim Kellison and other designers influence GM designers? What do you think? Let me know if you find other cars with Kellison or others influence. Are there body style lines in your favorite fiberglass body that’s similar to a car by a major manufacturer? If so, what year were each created and then think about who influenced whom?
Assumptions and Conclusions
The Jaguar’s XK120 (1948), XK140 (1954), and XK150 (1957) body styles must have influenced the largest number of fiberglass body designers. What is your view on this?
The roof and body of my J-2 are now stable and most major body repairs are complete. There are many, many hours of sanding and finishing remaining. The previous owner cut out the wheel openings too large. These will be refabricated and returned to their original Kellison profiles.
After carefully checking the repaired body, I’ve noticed that the body is not symmetrical. This means that the right side profile of the car is not the same as the left side profile of the car. Not because of my repairs but how the body was created in 1962.
If you check the dimensions on your fiberglass creations, I’m sure that you will find that left side dimension/profiles and right side dimension/profiles are not the same. Sometimes it could be a little bit here, a little bit there, and not very noticeable. This is another issue with my J-2. Most likely, 99+% of the people looking at my car will never know it is not symmetrical. Correcting these new issues will be another future article.
This restoration adventure of my J-2 continues to challenge all of my automotive skills. But, this is why I like my Forgotten Fiberglass masterpiece.
Until then, Happy Glassin’
Bob Peterson
Summary:
Bob… you’re making great progress on your car and I hope you can continue to do so thru the snowy Winter in Iowa. Keep that garage heated – and you’ll do great
I appreciate what Bob mentioned at the end of the article concerning the asymmetry of cars from back then. These were all hand fabricated molds and bodies, and we’ve found time and time again that wheel wells on one side of the car are located just fore or aft of wheel wells on the other side.
Making a car body wasn’t as easy to get precisely right, and it’s some of those features – the characteristics that reveal the car to be handcrafted, that are most endearing facets of the fiberglass cars from this era.
Thanks again to Bob Peterson for his great story and detail – both on his restoration progress and the additional thoughts and history he penned above on the heritage of Kellison sports cars.
Hope you enjoyed the story, and until next time…
Glass on gang…
Geoff
——————————————————————-
Click on the Images Below to View Larger Pictures
——————————————————————-


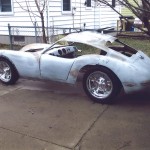
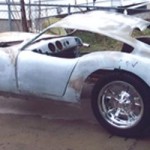
I purchased and built a J2 coupe back in 1967. I did get the car driving but never finished it. I moved to St. Louis and ended up selling the car in the 1970 – 1972 time frame. I have seen the car since. I do have a photo of the car when I first got it on the road.
Hi Bob,
If you need headlight covers for your J2, I’d be glad to make you a pair. I’ve made some pair or J3s. Please email me at: mclapp5526@gmail.com and I can send some photos of the covers. Feel free to give me a call anytime at: 816-286-6982.
Thanks,
Mark Clapp
Hi Bob
Good luck on your J-2 project. Keep up the good work.
Could a person stop in an see the car if they called ahead?
Jim K.
Mankato MN
Hi Bob,
Awesome job, both with the article and the restoration. Keep the documentation coming, as it’s bound to serve as a helpful guide to those of us yet to embark on a restoration of one of these ‘glass masterpieces!
Cheers!
Will
Thats going to be a great project.It’s great to see some of the old projects finely getting done.
Mel.
Great work Bob. You might want to consider getting a wrecked Triumph (with a title) and then using that chassis (even the bare rails would be enough) along with the VIN from that car as the donor for your car. Depending on the Ohio DMV laws you might have trouble titling the car as anything other than a custom Triumph without using a DMV recognized car as a starting point. You would simply go to the DMV and register your Triumph. They would have no idea what body you are using but it would be fully legal and easier than trying to get an all new registration and title for a homebuilt car.
Hugh offers a good suggestion with the 215, but there are not a lot of aftermarket parts for that engine. I did a car some years back with quad webers on a 215 and it ran really nicely but not a lot of power. A 260 or 289 is a nice motor if you want vintage. If you want power and torque the Buick V6 Turbo from the 1980s GN series cars is amazing and the package is nice and tight.
When I purchased the car it had a Triumph title due to the Triumph chassis that it sat on. I have the TR2 chassis/Kellison body titled in Iowa as a 1955 Triumph TR2. There were no problems getting the car titled here in Iowa.
My plans at this time is to use a 302 Ford V8 if it will fit with room leftover for my feet.
That was very easy to do in Iowa in the mid-1960s if a friend’s family was a car dealer in a small town – cost 3 bucks! If you are into building Cobra kit cars a 1964 to 1967 Ford title looks good.
Asuming you retained the TR wheel-base, it is even shorter than a Cobra. I put an aliminum GM 215 in a TR-3 chassis. They are shorter than the 302. Curl up your toes!
Hi Bob,
The car is looking great! That body is so rare it’s good to see one being fixed up. Few fiberglass cars are symmetrical, even new Cobra replicas, on which the scoops are rarely in the center of the car (causes all sorts of problems when laying out stripes). Also, Ferraris up to the early 1970s were hand-formed and seldom match up side to side or car to car. Try fitting a door from one to another!
Harold Pace
Harold, good to see you are still around. We met at Knotts Berry Farm, years ago, i had the j4 kellison and my son at 6 went up and got the award for,” no one else in the class, so he wins”. Then came Factory Five, I have taken you advise and continued with the car over these 20 years since then. The body is rubbed and molded and ready for paint. the engine now has a t5 camero box for long runs. Ear plugs still required. Just not as frantic.
I sewed my own interior, it was a learning experience. Came out really well.
Has c4 corvette seats.
It is in the ”build story” of kellisoncars.com……
i bought your book
hope all is well
it has started to snow in Coure d’lene idaho, rats
brian
Nice work! What a cool looking car that will be when finished. What are you going to do for a chassis?
The body was originally set on a Triumph TR2 chassis. This places the body much too high for good looks. Plus, I do not want to have to chase down British parts for a TR2. So, I have designed a new (all american parts) chassis for my J-2. I’m in the process of negotiating with a couple of chassis fabricators to build my new chassis. The photos of the car shows the final ride height. I hope to have my new chassis by summer. Once I have the body on the new chassis, then the task of many, many hours to complete it.