Hi Gang…
This is one special article!
First, it was written by the man himself – John Wills – who owned and brought to life two of the first four fiberglass sports cars the American public got a chance to see at the Petersen Motorama in November, 1951. And Second…it was written BEFORE he sold the company to Doug Caruthers – which happened in early to mid 1952.
What makes this even more interesting is that you get a glimpse into the past – why Doug Caruthers wanted to buy John Wills Skorpion company. The rationale? He got interested in it when he built a Skorpion himself, and it’s discussed in this very article from 1952.
So let’s have at it gang – an article written by one of the founders of the fiberglass sports car movement in America – a man who helped bring to life the cars and bodies of the Wasp, Skorpion, Maverick Sportster, Edwards Sports car, and other early fiberglass sports cars…
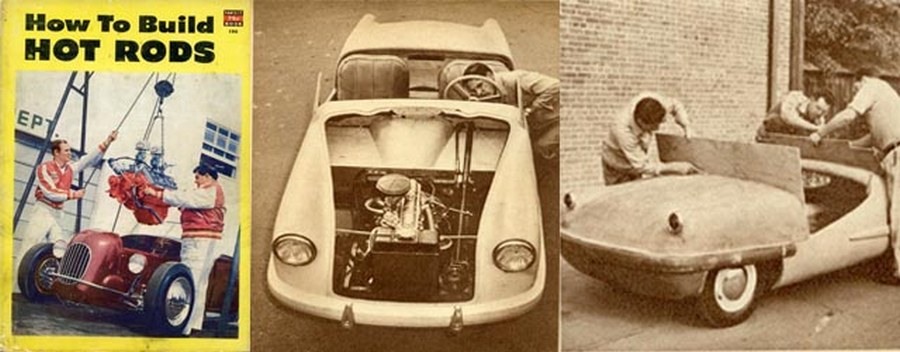
Allow me to introduce you to John Wills and his seminal article on building your own Skorpion sports car – as published in Fawcett’s 1952 book “How To Build Hot Rods.”
And Now – Fiberglass Bodies’
A Body With A Custom Look For The Owner And A Sneer For A Brick Wall Is Now Available
By John A. Wills: Wilro Company
Having proved its ruggedness over a period of more than 12 years in the boat building field, Fiberglas plastic is more and more becoming the popular material for building sports cars, race cars, and hot rods.
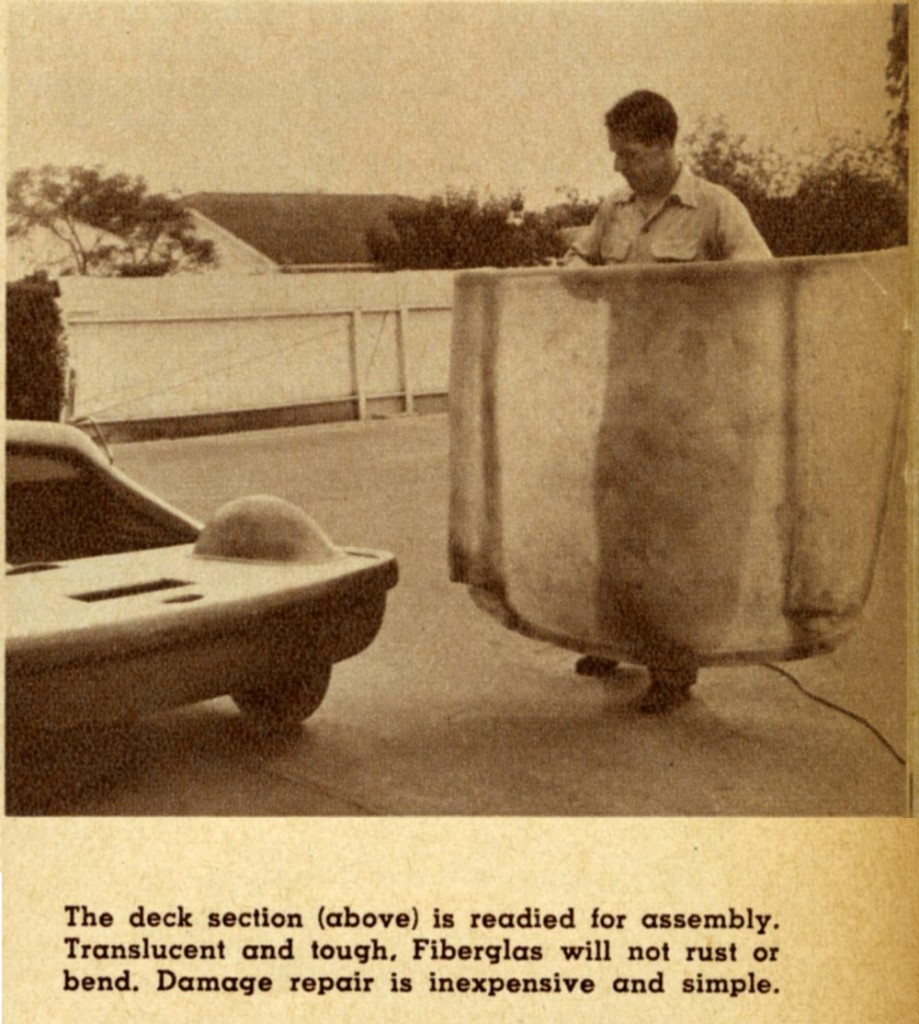
Light in weight, tough, sturdy and dependable, it is also rust and corrosion proof, dent proof, shatter proof, and almost indestructible. It can be molded into any desired shape, and unlike metal, which has to be made and welded together in a number of sections in order to make up one particular shape, Fiberglas permits the forming of huge one-piece sections that are as strong and rigid as they are beautiful.
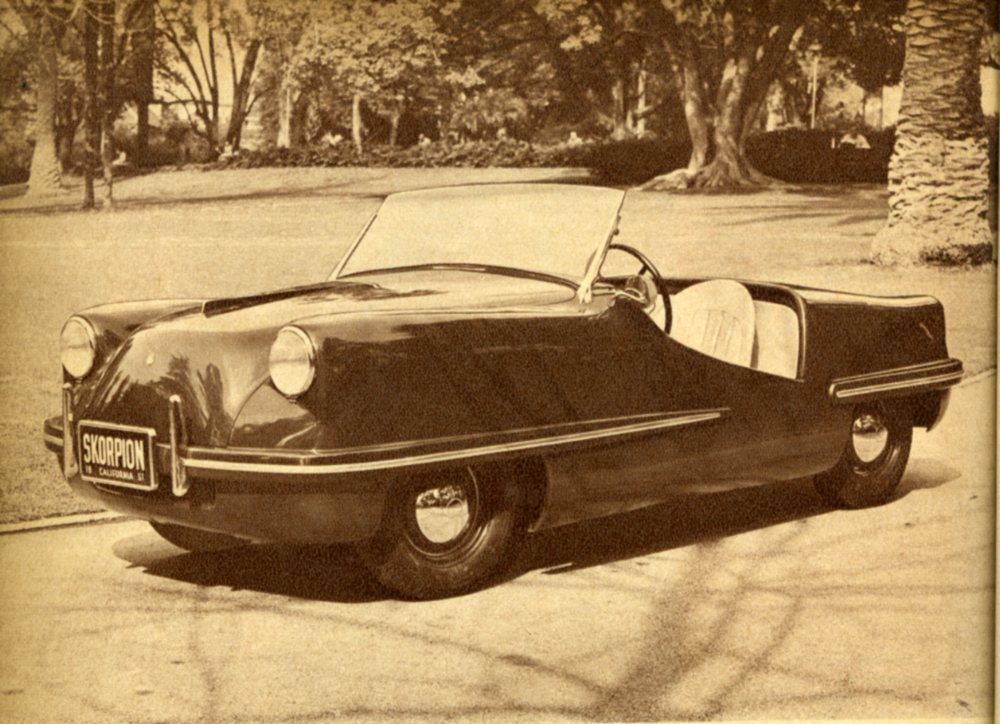
To meet the growing demands of hot rod and sports car enthusiasts for a small light-weight body that would be equally light on the pocketbook, we designed and put out a plastic body in kit form which anyone can put together in a short time, once he has modified his chassis to take it.
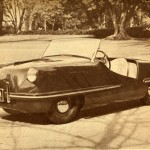
This car, called the Skorpion, is basically a sports car made to fit a Crosley chassis, or any other similar size frame which the rodder can build or buy. The only requirements are that the wheelbase be 80 inch, and the track, 42 inch. Wheels and tires are 4.50 x 12.
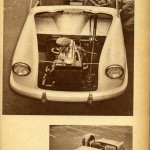
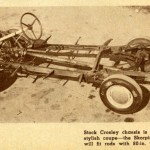
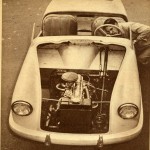
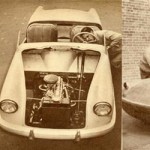
While chassis using various size small engines up to the size of Ford V8-60 can be custom built to fit the body, the simplest installation is the ’47 or later model Crosley, inasmuch as its stock chassis fits the Skorpion body completely without alterations other than those needed to drop the body at the midsection.
Complete assembly drawings and directions for converting the Crosley chassis are supplied with it, so there’s no wasted time and money trying to figure out the modifications and new dimensions. The job is not a difficult one. All Crosley parts (engine, final drive, axles, suspension, steering, etc.) are left unchanged, which makes things a lot easier from a servicing standpoint.
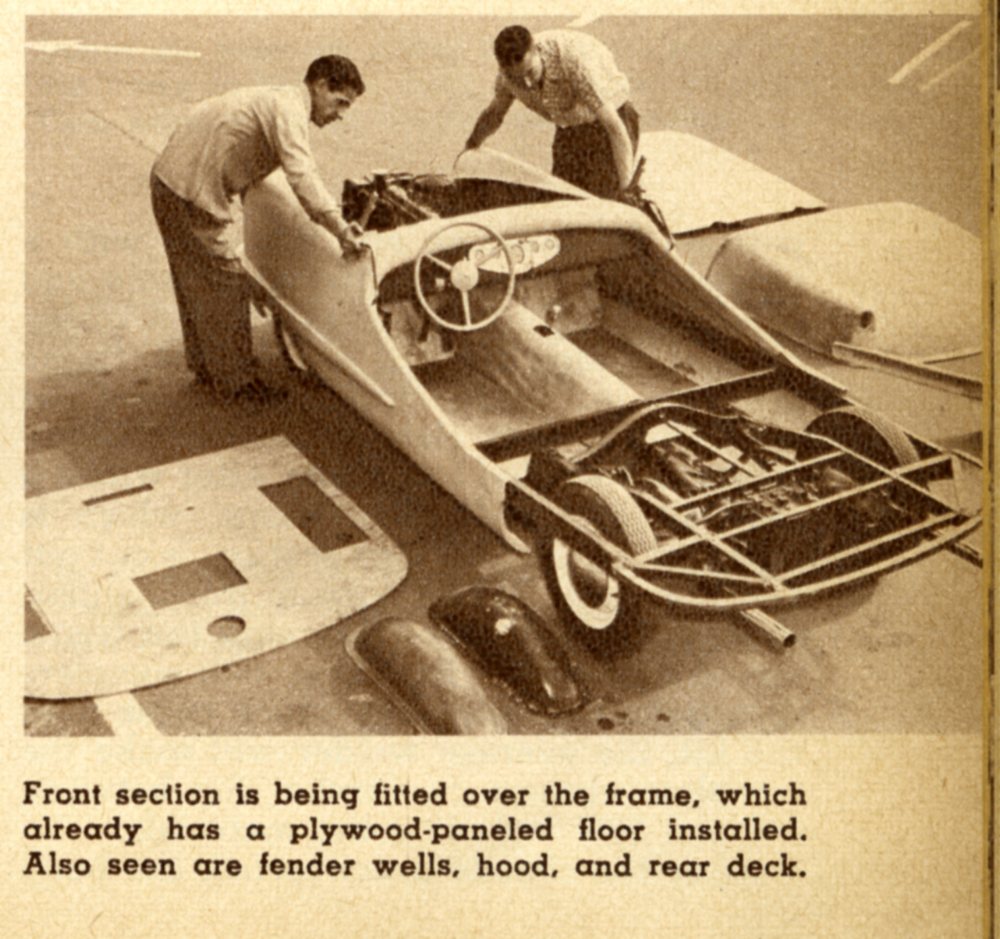
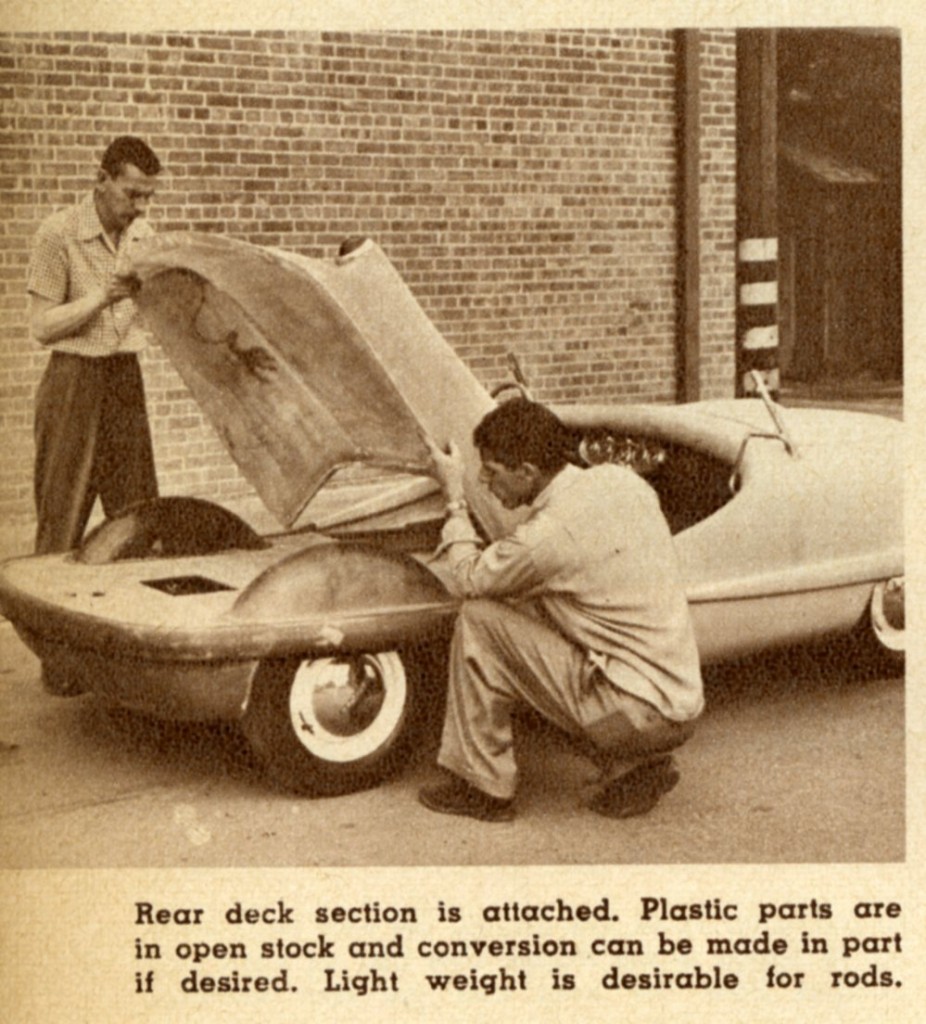
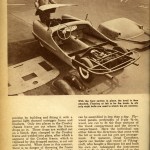
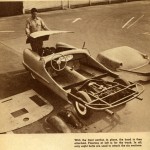
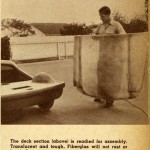
The plastic components of the Skorpion body come in six sections that bolt to the frame with only eight bolts. The main sections are the front section, which takes in the fenders and the hinged rod, the rear skirt section, and the rear deck which hinges to a back panel behind the seats and lifts up to expose the rear luggage compartment.
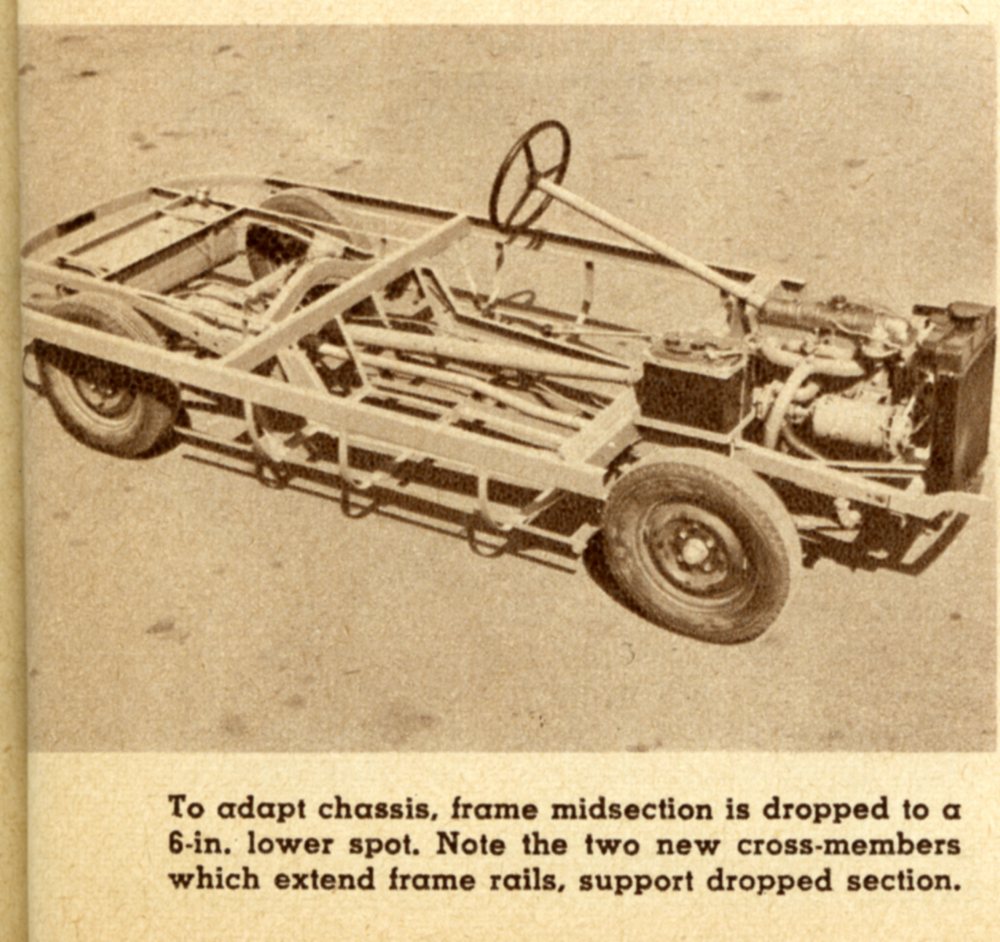
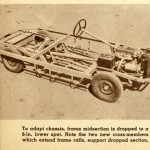
Two plastic rear fenders then attach inside the trunk over the rear wheels. To adapt the Crosley chassis, the mid-section of the frame which includes the radiator, steering column and other controls, must be “dropped” to a 6-inch lower position by building and fitting it with a special light channel outrigger frame and brackets.
Only two places in the Crosley chassis frame are cut where the frame drops go in. Those drops are welded out on a bench, then clamped to the Crosley frame and welded into place, after which a segment of the Crosley frame, which replaced by this dropped section, is cut out and removed. When done in this manner, there is no danger of throwing the frame out of alignment.
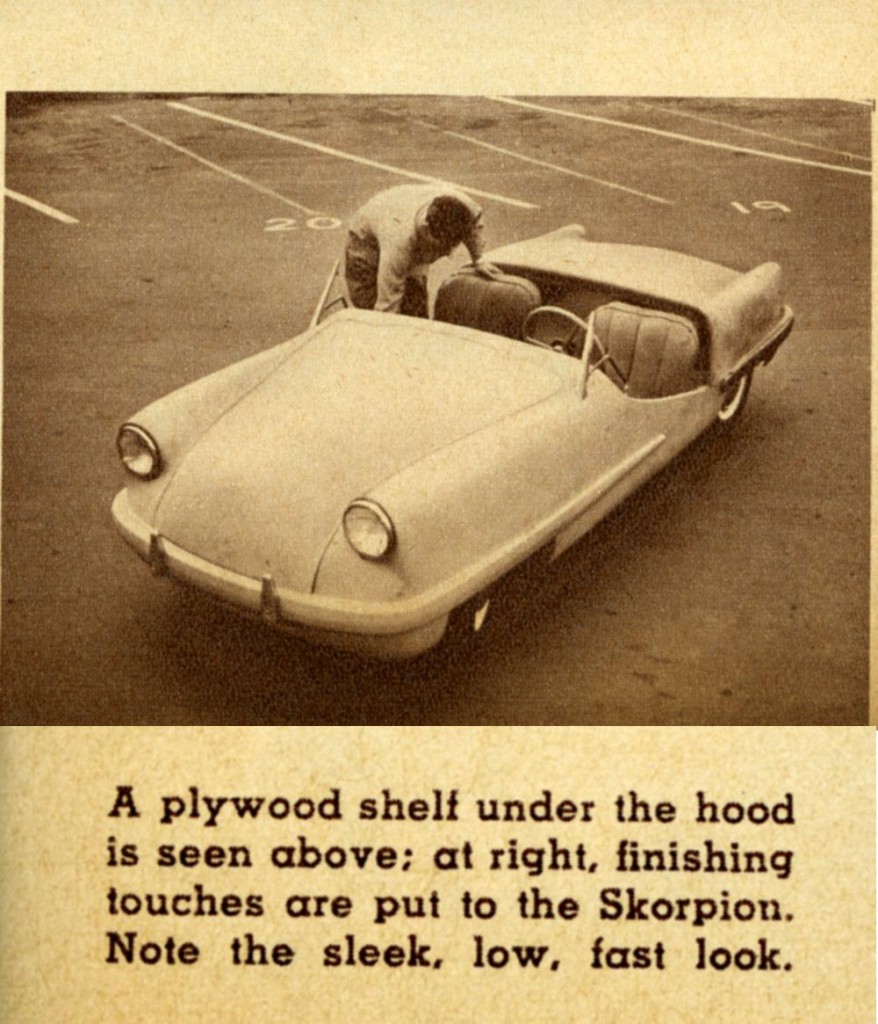
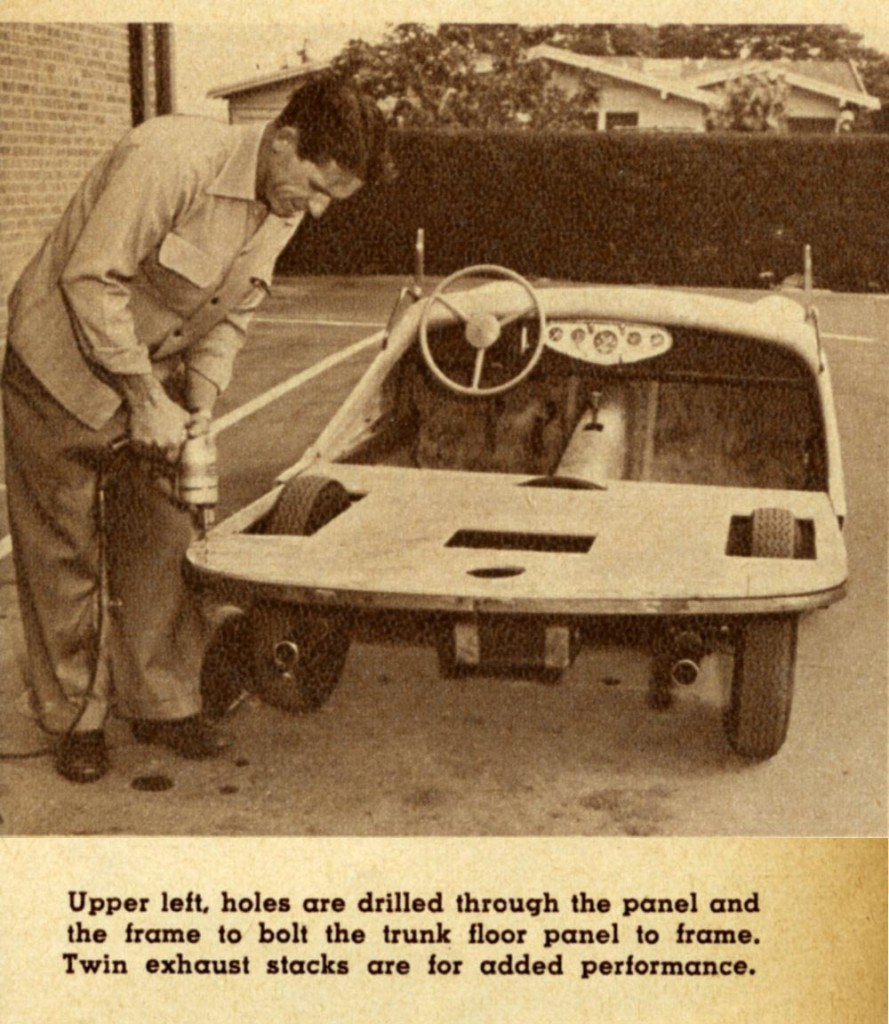
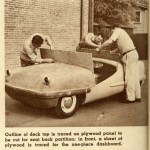
Provided with complete directions and drawings which come with the kit, the average welder will make the complete chassis conversion for between $40 and $60, including the materials. After the chassis is converted, the body can be assembled in less than a day. Plywood panels, preferably of 5-ply 3/8 inch wood, are cut to fit the floor sections of the trunk compartment and the driver’s compartment.
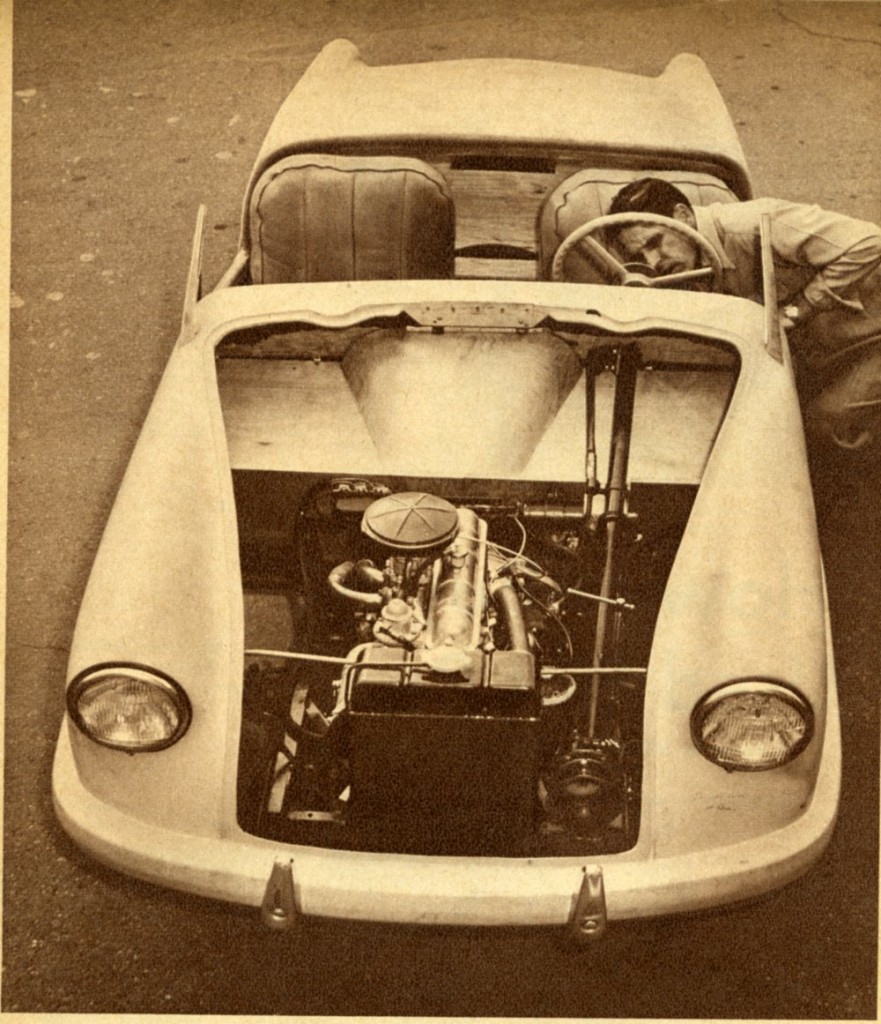
Here the individual can either follow the directions that come with the kit or work out his own pet arrangement. For instance, Doug Caruthers, sports car builder and owner of Vikingcraft, who bought a Skorpion kit and built his own car, redesigned the instrument panel to fit on the dash instead of on the floor over the gear box.
In dealing with his drive shaft column, he also strayed from the directions and covered it with a gracefully curved sheet of polished plywood. A vertical panel which fits behind the seat backs and partitions off the trunk compartment, also provides for hinging the rear deck to the frame. The deck is hinged to the top edge of this plywood panel section.
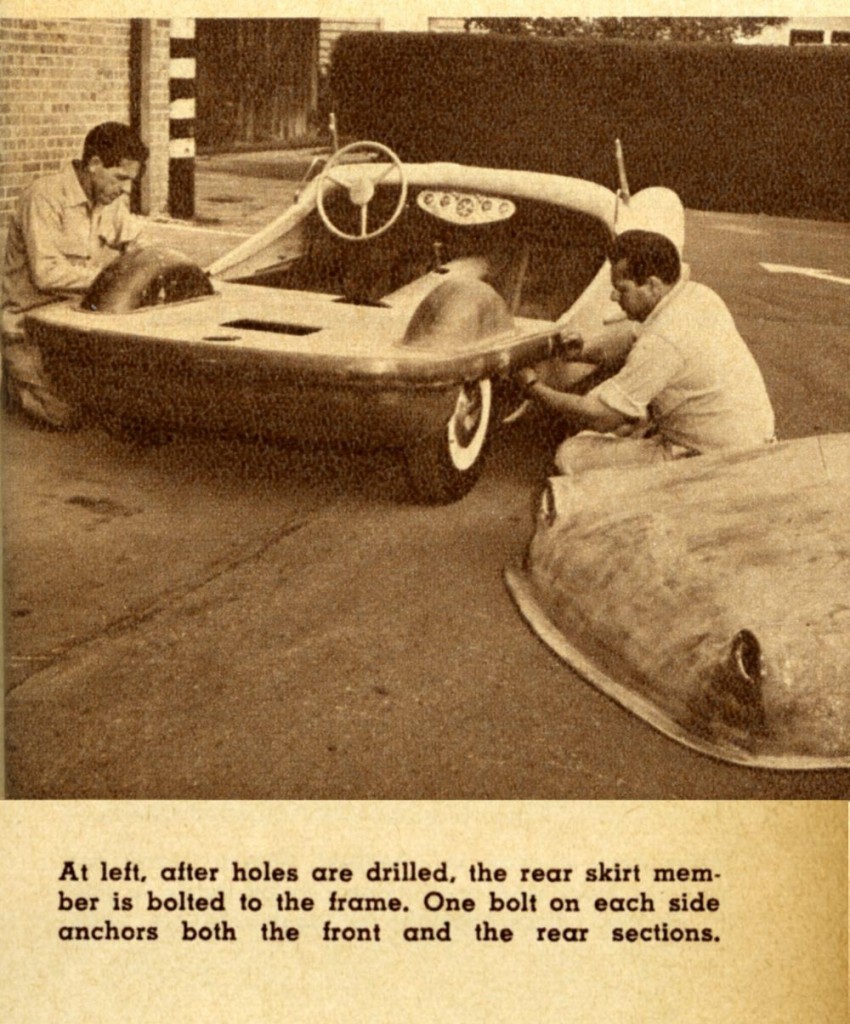
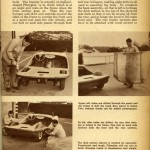
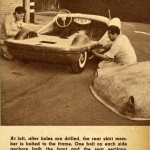
Next comes the job of assembling the body. The bumper is actually of channel-shaped Fiberglas, 1/2 inch thick, which is at an angle and rests on the frame when the front section goes on. Then the rear bumper and skirt unit extends around the sides of the frame to overlap the front unit at a point just past the rear wheels, and one bolt on each side passes through both members to attach them to the frame.
Then in the center of the body between the front bumper and the rear skirt member are two more bolts that go through the side again, making four bolts in all that go through the body itself. Four more bolts are then used to attach a pair of bumperettes to the front and rear bumpers, making eight bolts in all used to assemble the body.
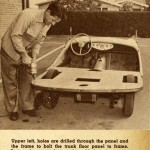
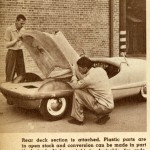
To complete the basic assembly, all that is left is to hinge the deck section to the top of the plywood seat back so that it can be swung up from the rear, and to hinge the hood to the main front unit. The rear fender sections also have to be attached with wood screws or bolts to the plywood floor panel of the trunk compartment directly over the rectangular holes cut for the rear wheels.
In attaching Fiberglas sections to the frame and plywood panels, or when adding accessories to the plastic body, holes are drilled through the plastic with an ordinary electric hand drill. The fiberglas can be drilled or cut with a saw to make openings for exhaust pipes, etc.
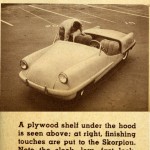
The finishing touches, like cutting a windshield and making a suitable frame for it, adding headlights and tail lights, seats, upholstery, chrome and paint, take care of the rest of the job. On the average, a person should be able to buy everything–body, car and labor–for well under $1,000. The basic Fiberglas body kit, itself, which includes the main body, rear panel, hood and deck in prime paint, including attaching accessories, sells for $445. Rear fender wells are extra at $19.95 a pair.
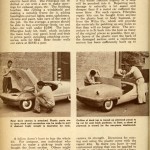
A fellow doesn’t have to buy the whole kit. For instance, one individual who wanted to make a pick-up truck only bought the front section. Others might want to combine metal body sections which they have, with some of the plastic from the Skorpion kit. Possibilities are limited only the individual’s taste, imagination, and ingenuity.
One of the great features of Fiberglas is its ability to take terrific punishment without suffering undue damage; an accident that would normally demolish a conventional metal car, would do comparatively little, if any damage to a Fiberglas one. Fiberglas does not bend or crumple like metal.
At the worst, if struck hard enough, it will either fracture slightly or a hole will be punched into it. Repairing such damage is naturally a lot easier and cheaper than if a metal car suffered the same blow. For such repairs, Fiberglas repair kits can be bought from anyone in the plastic boat or body business, or from the Wilro Company, which will provide the materials for patching up any holes so that they will no longer show.
The procedure is to fit back into the hole as many of the original pieces as possible, then apply layers of the plastic over the back of the damaged section until a reinforcing section has been sufficiently built up to restore its strength. Directions for mixing and using the plastic come with the repair kits.
So there you have it–real customized styling that can be applied to any 80-in. wheelbase chassis, and at a fraction of what an equivalent metal body would cost. You’ll be seeing a lot more of this handsome, durable plastic used in automobile bodies–it’s definitely here to stay.
Summary:
We’re still on the lookout to document many of the written pieces that John Wills provided with his sports car bodies. To date, these instruction sets are still missing, so if any of you know of these items out there gang – be sure to let us know. And when we find them, we’ll share them here at Forgotten Fiberglass for everyone to enjoy.
Hope you enjoyed the story, and until next time…
Glass on gang…
Geoff
——————————————————————-
Click on the Images Below to View Larger Pictures
——————————————————————-



This site is protected by reCAPTCHA and the Google Privacy Policy and Terms of Service apply.