—————————
Note: This is the first of three articles in a series of articles on the first brochure of Clearfield Plastics of Clearfield, Pennsylvania. Click here to review all articles in this series.
—————————
Hi Gang…
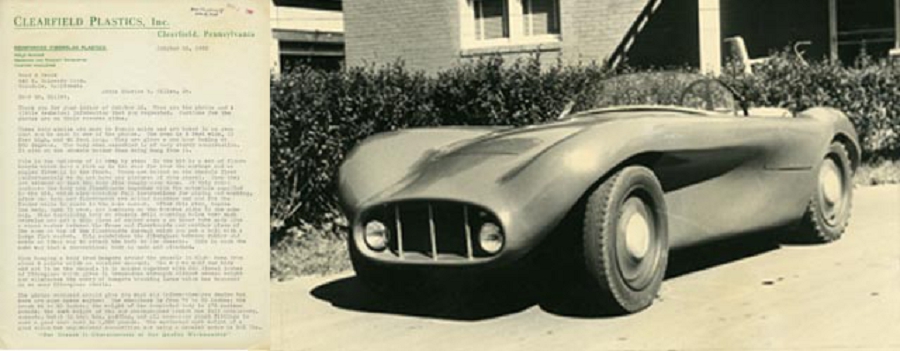
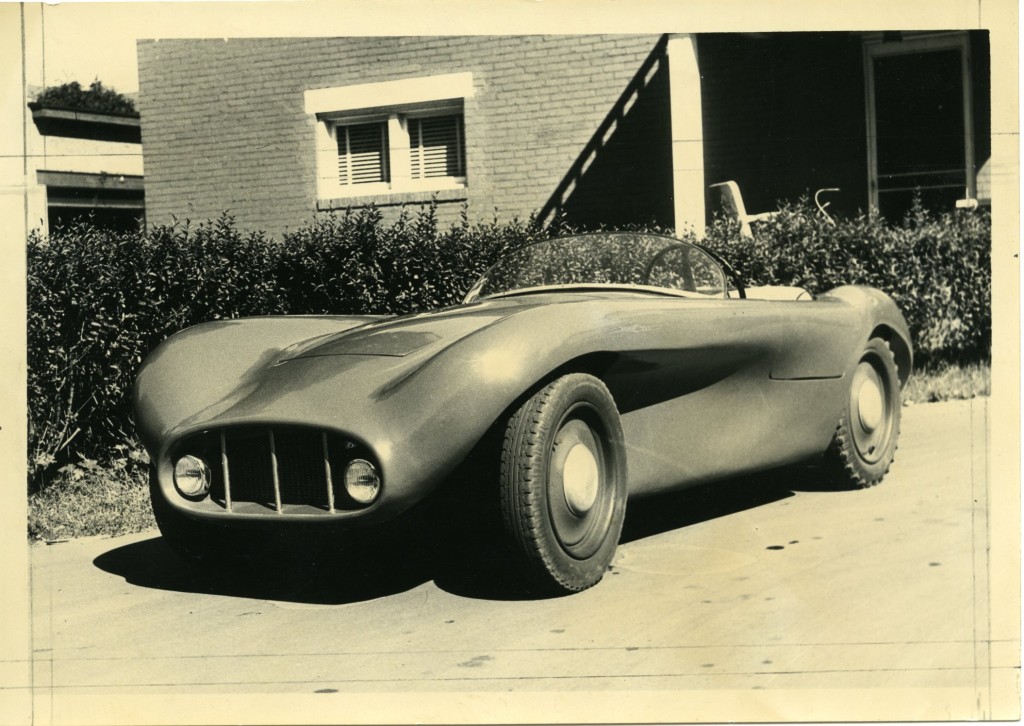
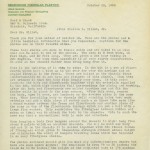
Back in the ‘50s, any fiberglass company would be thrilled to get a letter from Road & Track Magazine inquiring about the company and specifics on what is available for customers to purchase. I’m sure that’s how Harry Heim felt. He was Vice President and Production Manager / Engineer for Clearfield Plastics, Inc., of Clearfield Pennsylvania, and responded to their inquiry in a letter to Road & Track in October, ’55.
Let’s review his reply to the magazine and some of the photos he included. This is a rare glimpse into the “business side” of running your own fiberglass company – straight from the proprietor’s mouth back in the mid ‘50s.
Hold onto your fiberglass hats, and away we go!
And remember…as with every image here at Forgotten Fiberglass, use your mouse to click on any photo and make it appear larger on your screen.
Clearfield Plastics, Inc: October 28, 1955
Clearfield, Pennsylvania
Reinforced Fiberglass Plastics
Mold Making:
Research and Product Developing
Custom Molding
“Our Growth Is Characteristic of Our Quality Workmanship”
Road & Track
540 W. Colorado Blvd
Glendale, California
Attn: Charles B. Gillet, Jr.
Dear Mr. Gillet
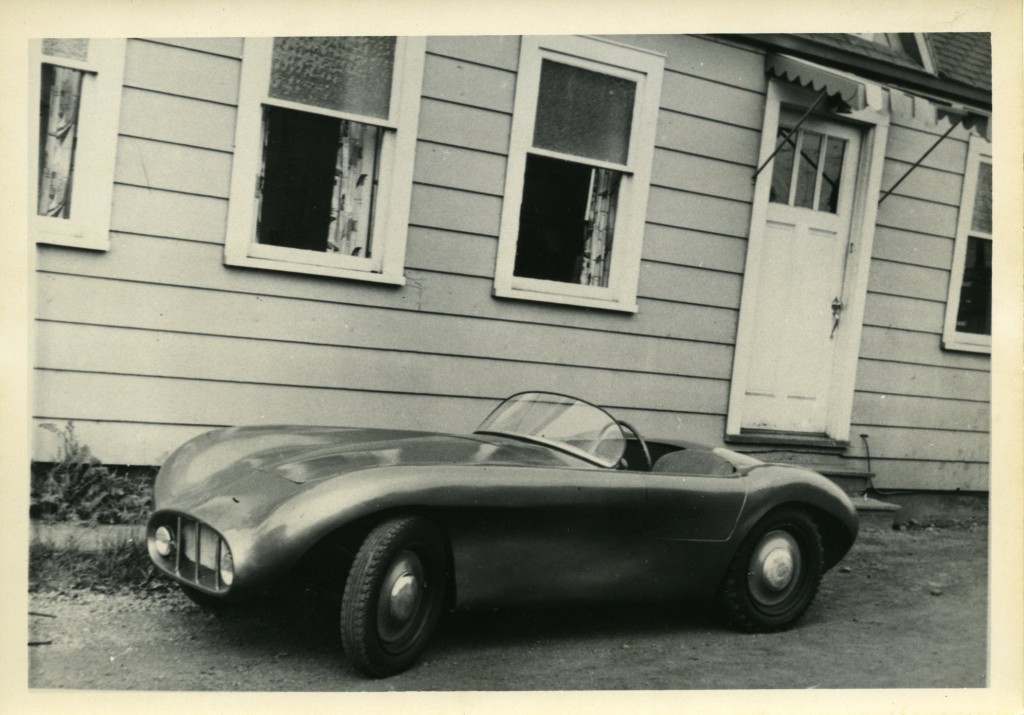
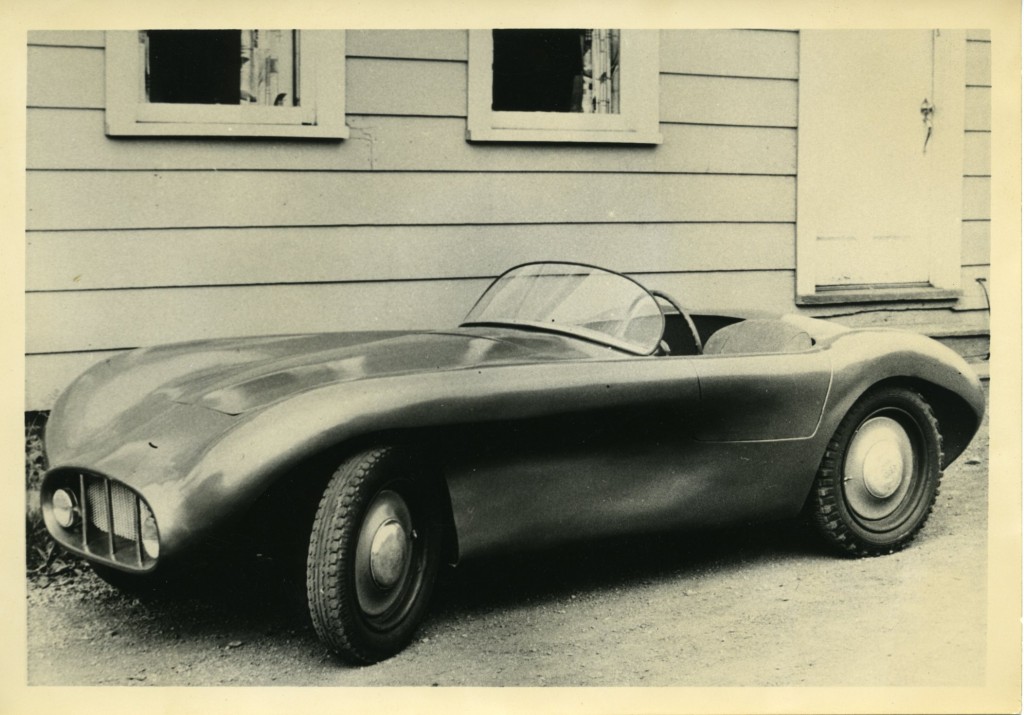
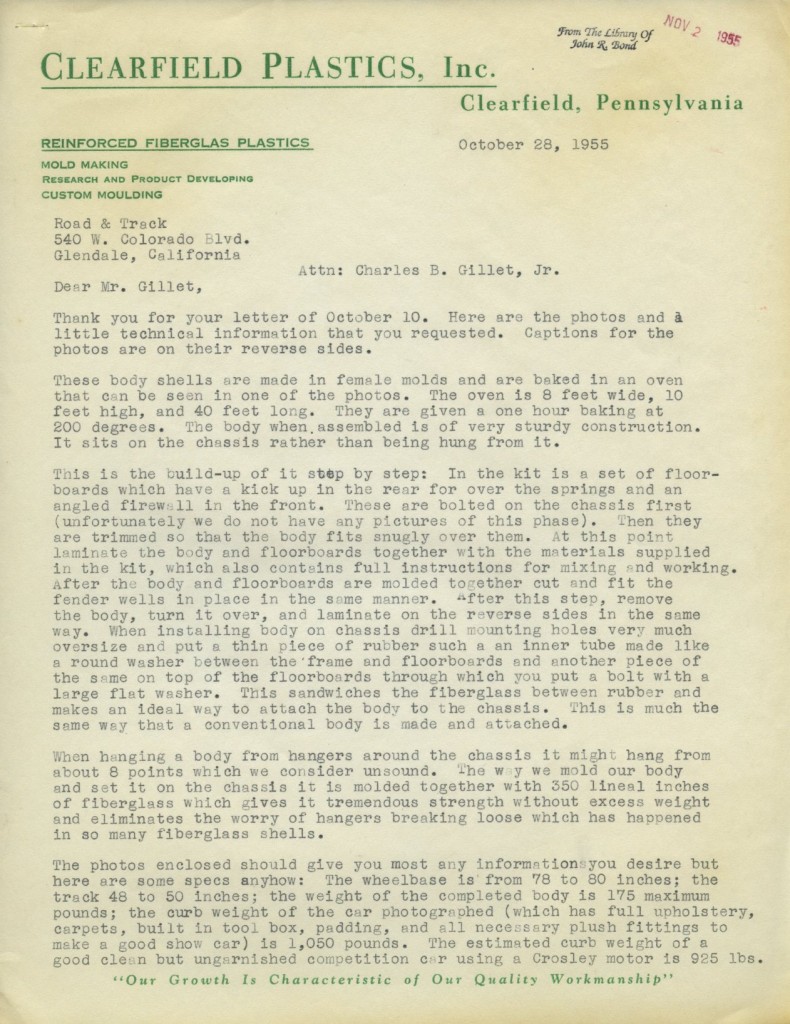
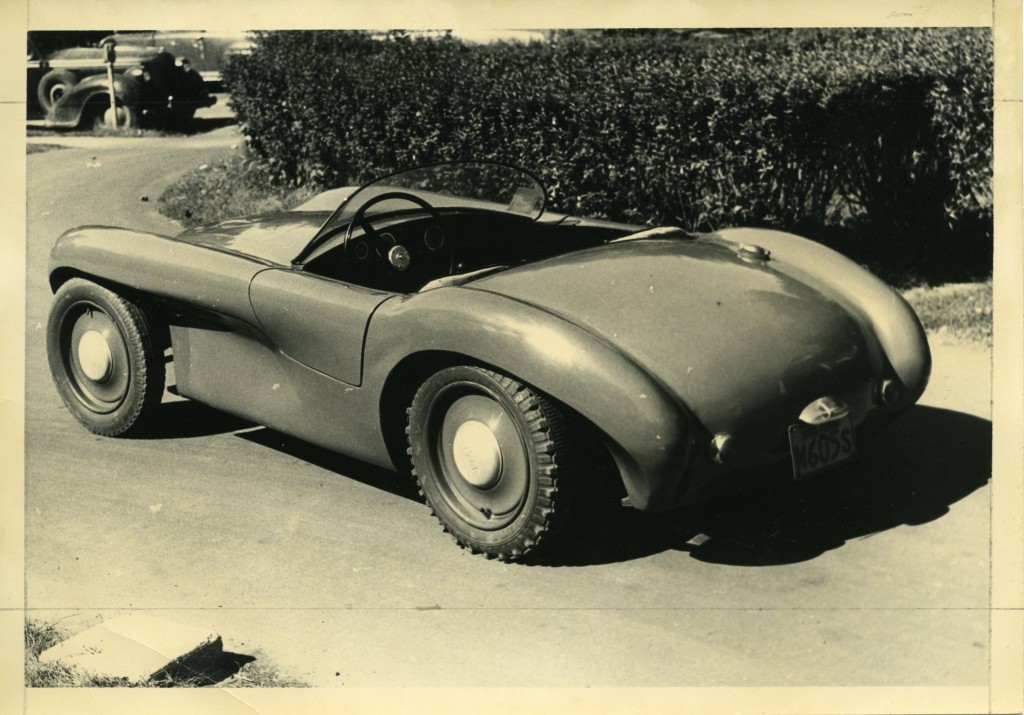
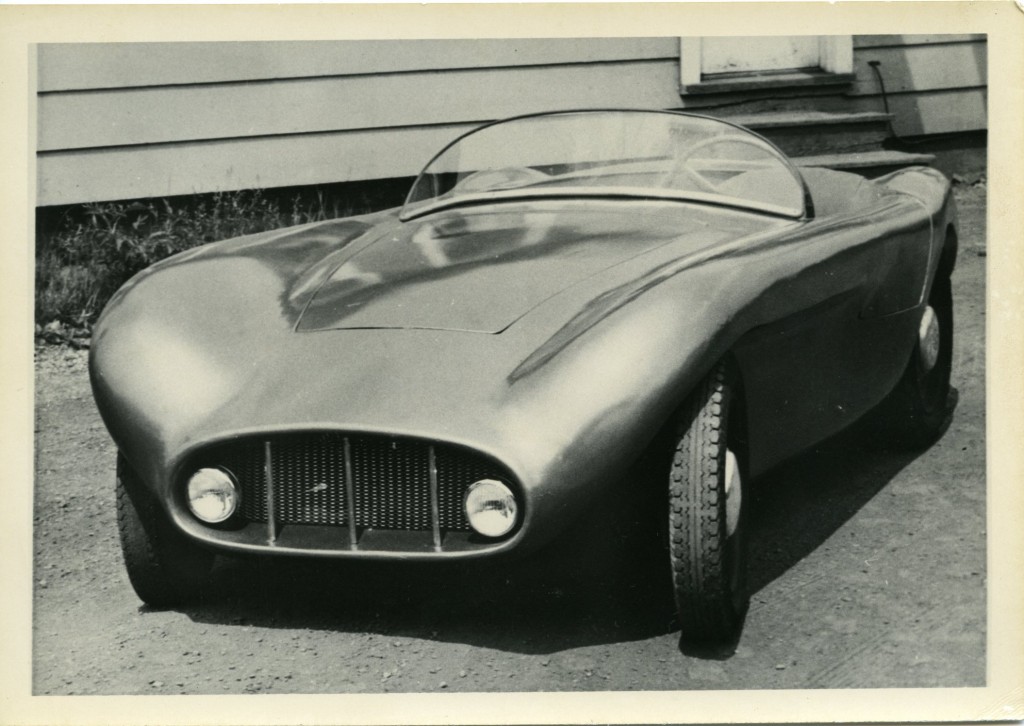
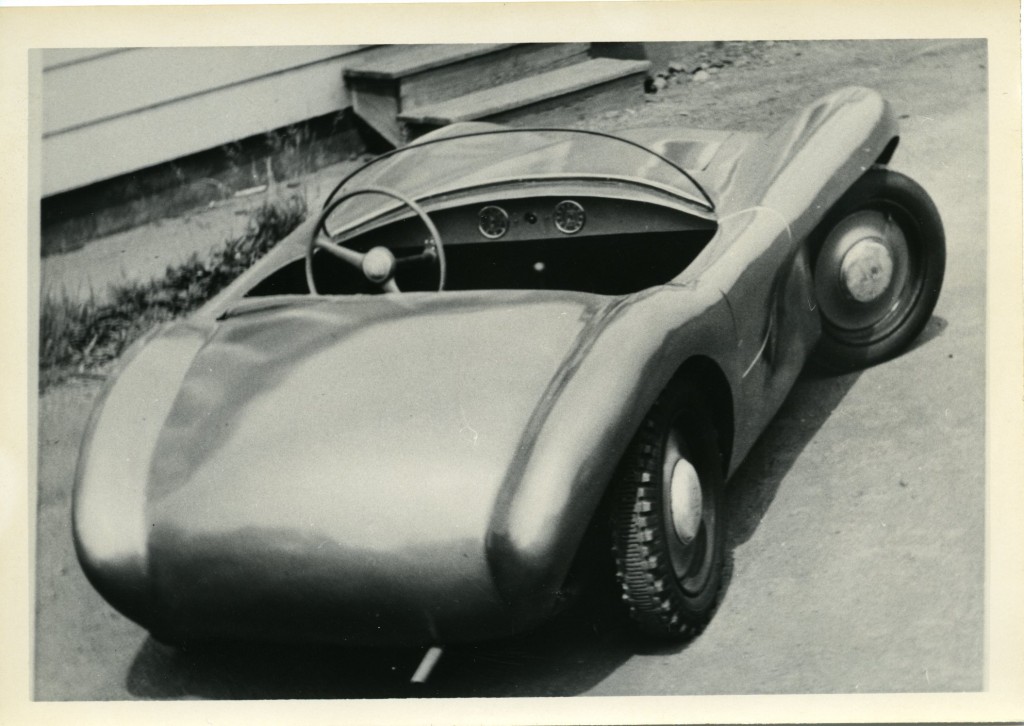
Thank you for your letter of October 10 (1955). Here are the photos and a little technical information that you requested. Captions for the photos are on their reverse sides.
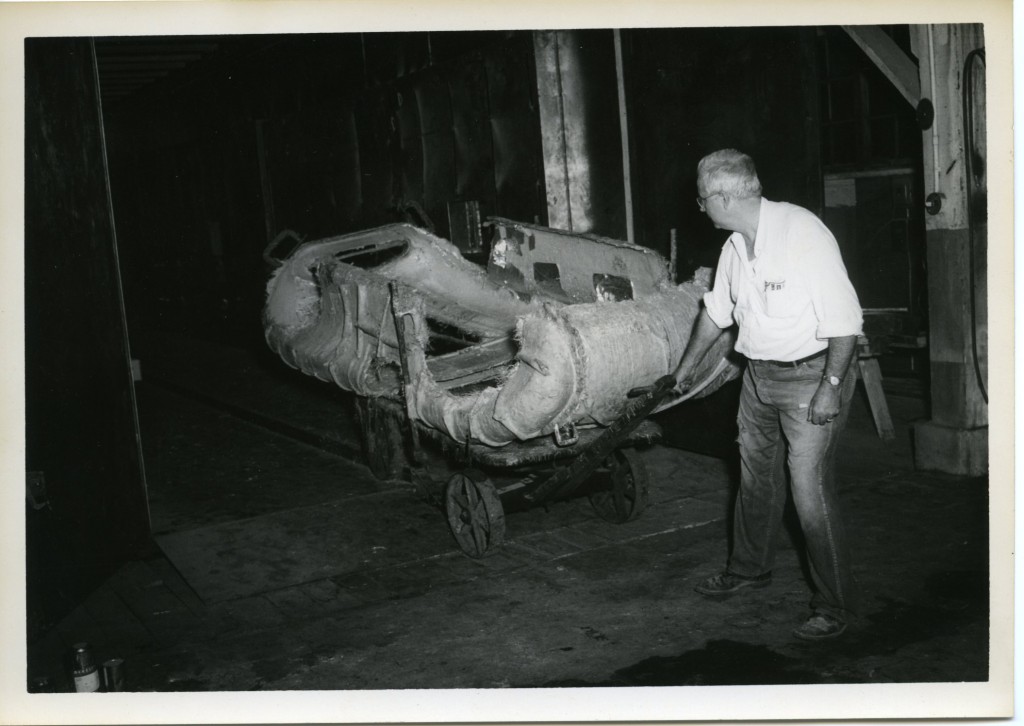
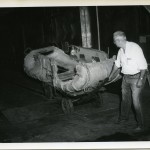
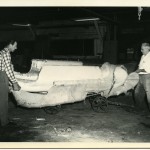
These body shells are made in female molds and are baked in an oven that can be seen in one of the photos. The oven is 8 feet wide, 10 feet high, and 40 feet long. They are given a one hour baking at 200 degrees. The body when assembled is of very sturdy construction. It sits on the chassis rather than being hung from it.
This is the build-up of it step by step:
- In the kit is a set of floorboards which have a kick-up in the rear for over the springs and an angled firewall in the front. These are bolted on the chassis first (unfortunately we do not have any pictures of this phase.) Then they are trimmed so that the body fits snugly over them.
- At this point, laminate the body and floorboards together with the materials supplied in the kit, which also contains full instructions for mixing and working. After the body and floorboards are molded together, cut and fit the fender wells in place in the same manner.
- After this step, remove the body, turn it over, and laminate on the reverse sides in the same way.
- When installing body on chassis drill mounting holes very much oversize and put a thick piece of rubber such as an inner tube made like a round washer between the frame and floorboards and another piece of the same on top of the floorboards through which you put a bolt with a large flat washer. This sandwiches the fiberglass between rubber and makes an ideal way to attach the body to the chassis. This is much the same way that a conventional body is made and attached.
When hanging a body from hangers around the chassis, it might hang from about 8 points which we consider unsound. The way we mold our body and set it on the chassis – it is molded together with 350 lineal inches of fiberglass which gives it tremendous strength without excess weight and eliminates the worry of hangers breaking loose which has happened in so many fiberglass shells.
The photos enclosed should give you most any information you desire but here are some specs anyhow:
- The wheelbase is from 78 to 80 inches
- The track 48 to 50 inches
- The weight of the completed body is 175 maximum pounds
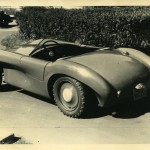
- The curb weight of the car photographed (which has full upholstery, carpets, built in tool box, padding, and all necessary plush fittings to make a good show car) is 1050 pounds
- The estimated curb weight of a good clean but un-garnished competition car using a Crosley motor is 925 lbs
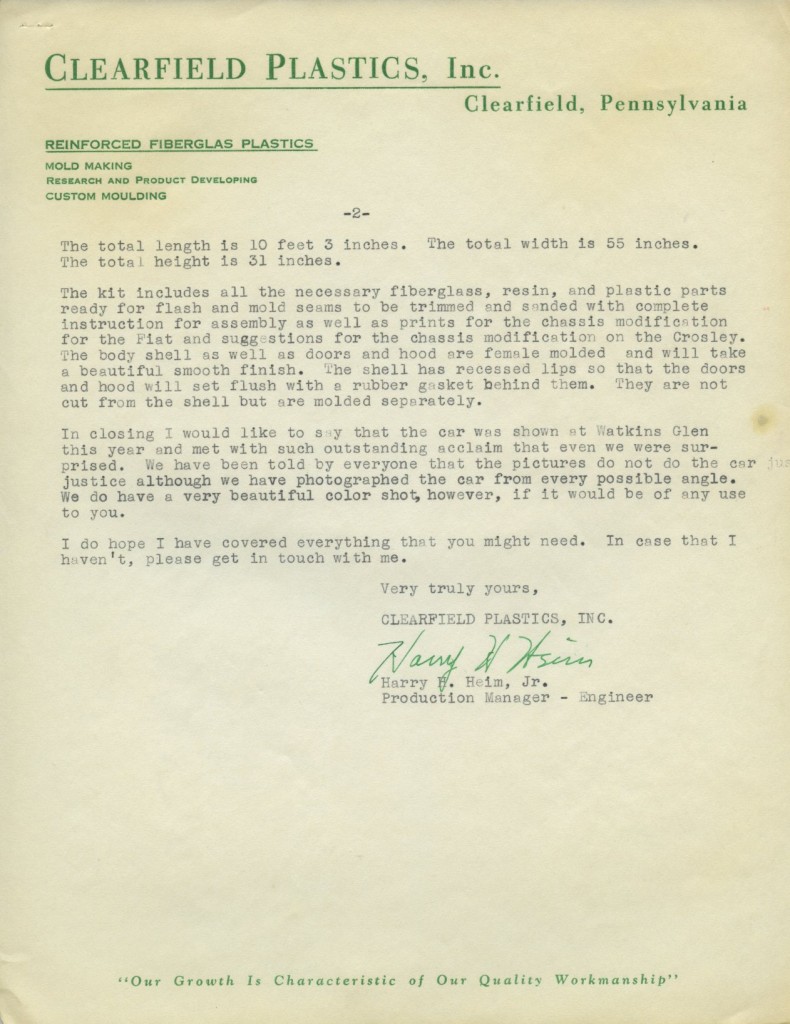
- The total length is 10 feet, 3 inches
- The total width is 55 inches
- The total height is 31 inches
The kit includes all the necessary fiberglass, resin, and plastic parts ready for flash and mold seams to be trimmed and sanded with complete instruction for assembly as well as prints for the chassis modification for the Fiat – and suggestions for the chassis modification on the Crosley.
The body shell as well as doors and hood are female molded and will take a beautiful smooth finish. The shell has recessed lips so that the doors and hood will set flush with a rubber gasket behind them. They are not cut from the shell but are molded separately.
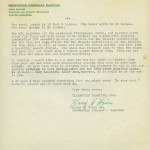
In closing I would like to say that the car was shown at Watkins Glen this year and met with such outstanding acclaim that even we were surprised. We have been told by everyone that the pictures do not do the car justice although we have photographed the car from every possible angle.
We do have a very beautiful color shot, however, if it would be of any use to you. I do hope I have covered everything that you might need. In case that I haven’t, please get in touch with me.
Very truly yours,
Harry. H. Heim, Jr
Production Manager – Engineer
Clearfield Plastics, Inc.
Additional Pictures of Clearfield Plastics:
Here are additional pictures that were included with the letter from Harry Heim to Road & Track Magazine:
Summary:
This is the first “oven” I ever remember hearing about in terms of any fiberglass car we focus on in the ‘50s. I’ll have to research the significance of this approach a bit more. Any of you “veterans” out there have any thoughts to share with us? If so, use the “comments” feature below.
Did you check out the height of this diminutive car? Just 31 inches high. Is that a new record? And where are the pictures from when the car was shown at Watkins Glenn in ’55? It sounds like it made a “splash” at the event! We’ll have to be on the lookout for these photos – how fun it would be to find them and share them here at Forgotten Fiberglass
I hope you enjoyed part 1 of this story. In part 2, I’ll share the rest of the Road & Track correspondence as well as more photos. In the meantime, perhaps we can encourage Clark Mitchell to help explain the background of the photo above showing all bodies in production at the factory / plant.
Clark…just use the “comments” feature below and let us know what you remember. As I recall, you have quite a story to tell us about that picture
Hope you enjoyed the story, and until next time…
Glass on gang…
Geoff
——————————————————————-
Click on the Images Below to View Larger Pictures
——————————————————————-
- Caption: Body And Mold Being Removed From 40′ Long Walk In Oven
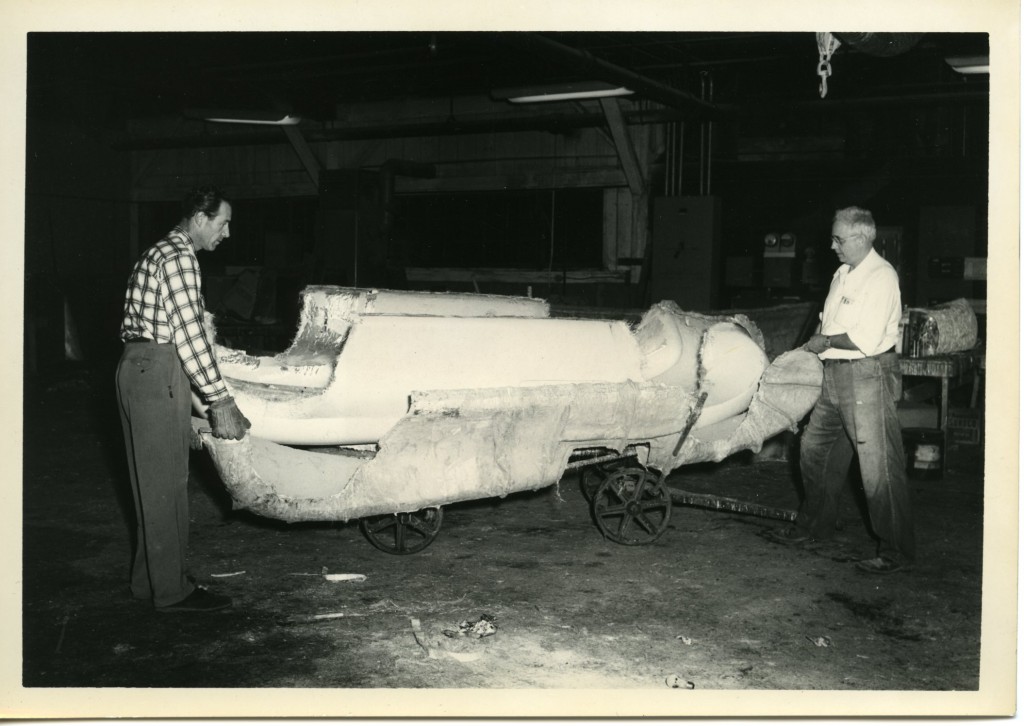
- Side Section Of Mold Being Removed From Body Shell
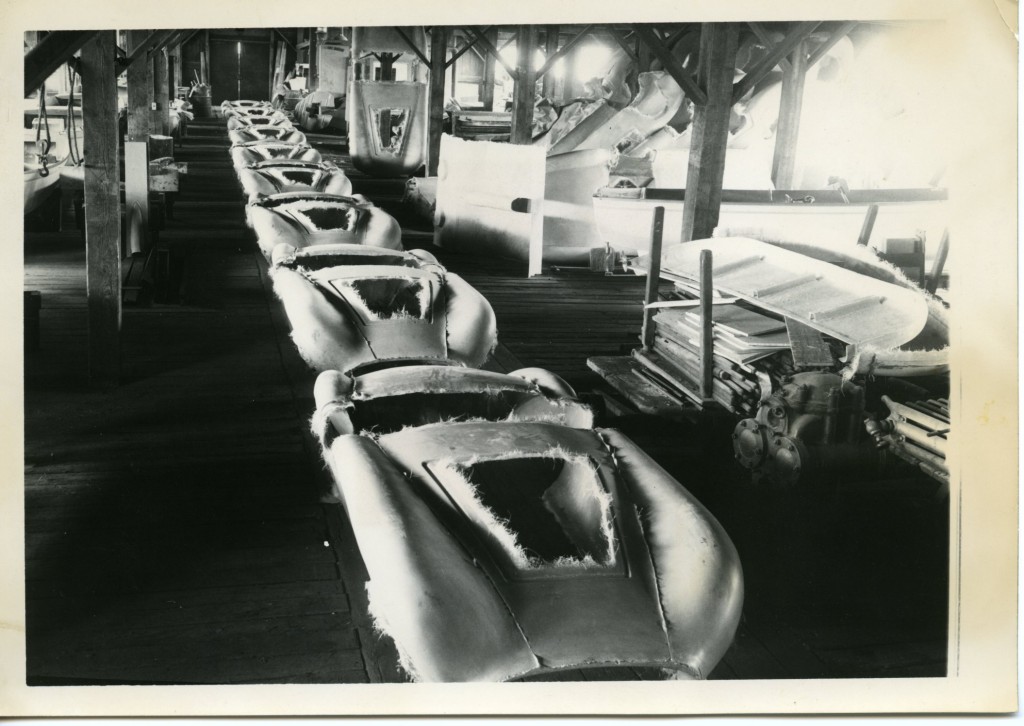







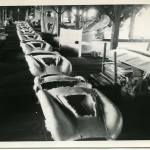

I count nine bodies lined up—very impressive! We probably never had more than a couple of any one design around at one time at Victress. Obviously, Clearfield didn’t know about gel-trimming, or it was impractical in the oven.
Elevated temperatures cure the resin more thoroughly and make it more stable. The part is less likely to warp over time as the resin continues to cross-link from the chemical reaction that is responsible for the curing process. As Bob note, the elevated temperature cure increases throughput for the manufacturer. You don’t have to mix the resin as hot either, so you have a longer pot life (more working time to lay up your glass cloth or mat).
Interesting choice of rear tires. Were they expecting snow?
What a great article! I’ve been working with fiberglass for 50+ years. I learn something from every article published here in Forgotten Fiberglass.
Even though I’ve never used an oven in my fiberglass work, I’ll make a few comments on my experience of curing fiberglass.
Over the years I’ve only used two methods of curing fiberglass: air cure and heat cure (heat lamp).
I’m not sure what the correct/technical terms used with the curing processes are, so I’ll use what I’m familiar with.
In most of my fiberglass work I use the air curing process. I do not lay up complete bodies or other large area projects. Most of my work is of the 1 to 3 square foot area. I use an 8 oz. paper cup for my resin with usually 10 to 15 drops of hardner. This gives 10 minutes or so of working time. But, if it’s 95 degrees out and you’re working in the sun, back off on the hardner. When the fiberglass gets cooking, it can easily achieve 140 – 160 degrees (very hot to the touch). Curing temperature will also depend on the air temperature of your working environment. Air cured fiberglass will feel hard and strong after an hour, but it is still in a very green state. It’s not very strong at this point, but the fiberglass will have achieved a level of hardness. I kind of use 24 hours for air cure time. If the part is going to have some stress applied to it I usually wait 2 days. There are so many variables when working with fiberglass, it is not possible to make an absolute time/hardness statement for all projects.
If I’m working on a project that requires a short turn around I’ll use a heat lamp to speed up the curing process. I use a standard heat lamp available at any hardware store. I have a socket that has a reflector and handle. After laying up a small project, I’ll mount my lamp 18″ or so away (again, many variables here). The fiberglass will get cooking much faster. I have a hand held laser temperature gauge to determine the curing temperature. I do not let my fiberglass projects get above 150 – 160 degrees. I feel that this temperature is high enough for curing.
I’m sure fiberglass manufactures have done test on fiberglass resin curing times. I would feel very uncomfortable with cooking my projects at 200 degrees for an hour in an oven.
Using an oven to speed up curing times will increase the part turn around time. The faster the cure, the more parts per day, and fewer molds are required.
What do the manufactures of fiberglass materials, who read this column, have to say? We, your customers would benefit from your material test results on curing time/temperatures.
As a friend of Harry Heim, and not an employee of Clerfield Plastics, I worked with Harry through the summer in the design/fabrication of this body, that he initially nicknamed, the “Macaroni Momza”, before I attended Penn State University in the fall. As often as I could, I came to Clearfield on weekends. The ‘lineup of bodies’ photo is very likely of the bodies being prepared for FIAT of Mexico, where they were to be installed on an appropriate chassis, and show room finished for sale worldwide; the photo could also depict the next set of shells prepared for individual customers.
Jack Poole and I were asked by Harry to meet him at Watkins Glen and help convey the virtues of these bodies. It was a treat to watch a couple of guys,
running down Franklin Street, carrying a Macaroni Monza body, screamung,
“Vroooom vroooom Vroom . . . . “